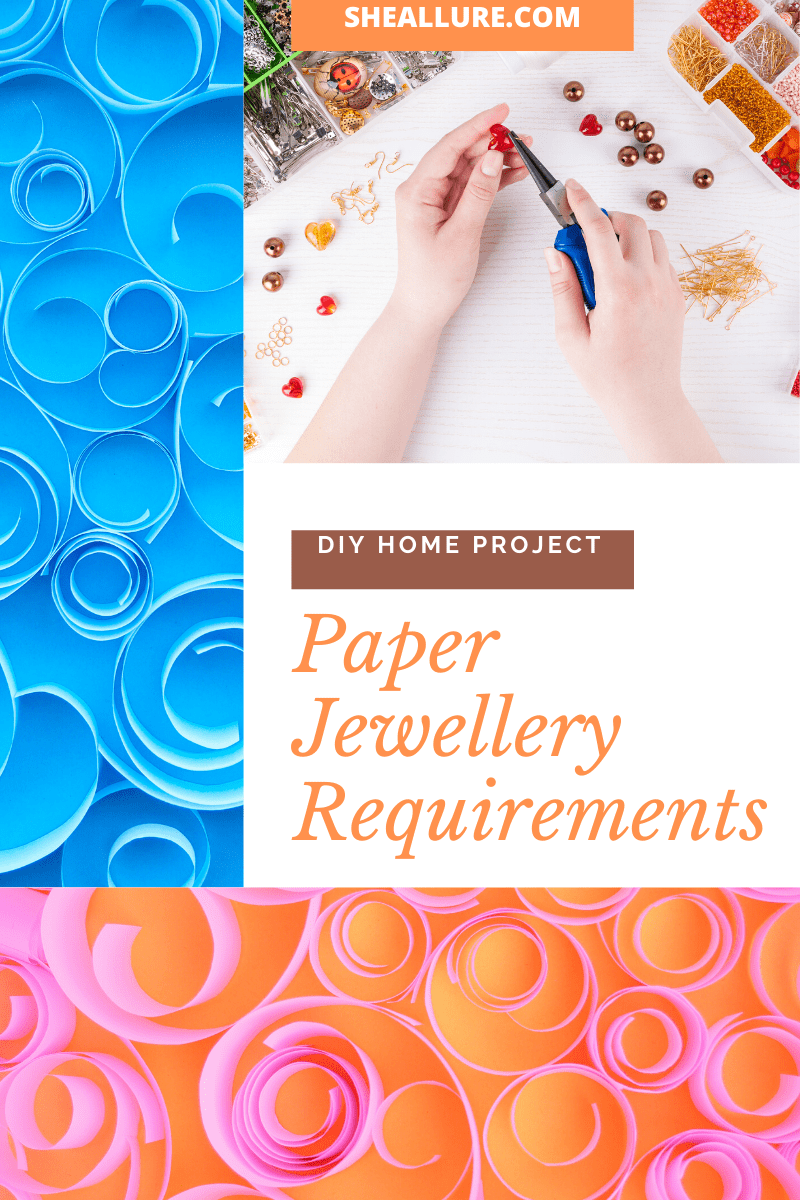
Things required to make paper jewellery at home are easily available. In fact, you might find most of them at home when you first begin. If not, feel free to order online and get it deliver to your doorstep.
As a DIY jewellery designer and fan, I always make sure that I have my supplies ready before starting a new project. That way I save time and put my creativity to good productive use.
If you’re just starting out as a DIY jewellery designer, I’d love to share with you my complete list of materials and supplies that will be needed to make your designs a success.
Things Required to Make Paper Jewellery at Home
Before I delve deep into what all you need to make paper jewellery at home, let me point out that each DIY jewellery designer has their own set of ways for crafting jewellery. Some individuals use quilling while others make simpler designs.
I will share my complete list of things required to make paper jewellery at home based on the techniques that I use. If you feel that more things need to be added as per your technique, feel free to share them with me in the comments section after the end of this blog.
13 Basic Supplies Needed for Making Paper Jewellery at Home
Whichever technique you choose to make jewellery at home, there will be 13 basic things required to make paper jewellery at home. Let me share them with you below.
|
|
|
|
|
|
|
|
|
|
|
|
|
Clean paper
Pick any clean paper of your choice that will help you in crafting good jewellery types and designs. You can either go to market and buy or simply use paper lieing at home. Newspapers, magazines, tissues and even recycled paper make for very good supplies to make jewellery at home. I’ve written about them in another blog of mine.
Cardstock
Most people use cardstock as jewellery hang tags but you can actually use them to design jewellery as well. Try it out. The end product will be stable and firm.
Sparkles
Sparkles are optional material. But in case you like jewellery that dazzles, make use of them. They come in bottles or tubes and are easily available in any market around the world.
Scissors
A pair of normal scissors at home can be used to cut paper in shapes as you desire. If you want to be more innovative, use pinking sheears. I use a low cost version that is quite good for cutting paper in a zig-zag way.
Needle
A needle will be required in order for you to string your paper shapes to a thread. Additionally, you can also use them to string beads and your designed shape together.
Thread
A thread will help you tie all your elements together. Try using a good quality and firm thread. Either use the threads at home or use the ones available exclusively for jewellery designing.
Fevicryl and Paintbrush
Fevicryl bottles come in all kinds of sizes and colours. Many a times paintbrush comes free with them. If not, buy the separately. You’ll need the beautiful colours of Fevicryl to add magnificence to your paper jewellery.
Feviquick
Feviquick is such a tiny thing and yet so important for any DIY jewellery artist. It is because of feviquick that your design will stick together. Paper artists just can’t do without feviquick.
Dimension Sealer
This is optional. A lot of DIY home jewellers use it so I do recommend it. However, if you feel you can manage without it, no issues at all.
Wax Paper
Once your jewellery is drying up with all the sparkle and feviquick fluid, you’ll need a wax paper to help it dry.
Cardboard
A good quality cardboard will help you stack and spread all the supplies for your project. So its always good to keep one handy.
Ruler
Ruler helps to measure as well as cut out thin strips of paper. Ruler is optional but if you think that you need it, add it to your list of items for making jewellery at home.
Plier
All of us have pliers at home but very few of us realise that they can be used for jewellery designing. Actually as a craftsperson, you will need a plier for grasping beads, threads, stones etc. You can choose the exact plier based on your design requirements.

5 Crucial Tools Needed for Making Paper Jewellery at Home
Most beginners feel that some very sophisticated tools are needed for creating and crafting paper jewellery at home. However, this assumption is far from the truth. In actuality, the main tools are the pliers and cutters. A lot of households anyways have them. But if even if you don’t have them, they are very easily available in the market.
|
|
|
|
|
Crimping Tool
The word crimping means to fold something into ridges and grooves. In home made jewellery, crimping implies to fold wires comprising paper beads or specific paper products into a proper design. Using a stainless steel crimping tool will go a long way in helping you fold well. I use it as well.
Flat Nose Pliers
Flat nose pliers are super useful for making sharp bends and right angles in a thread or wire.So basically, they serve as crimping tools as well and are highly useful for DIY paper jewellery projects at home.
Chain Nose Pliers
Chain Nose Pliers are very versatile for creating a lot of paper jewellery applications. Most of all, they’re helpful in establishing a firm grip without wearing out the edges. While buying a Chain Nose Plier, go with the one with a handy spring handle. That way you won’t tire your hands easily.
Round Nose Pliers
As the name suggests, Round Nose Pliers are essential for creating round loops. They are manufactured in a way that their design helps in getting the loop size right. In case, you make use of similar sizes then put a mark on the plier so that the same size gets created each time.
Wire Cutters
Wire cutters are indisputably the most important tool when it comes to making paper jewellery at home. You’ll need them for cutting the threads, mini ropes or wires used for making your jewellery. Wire cutters are commonly found in household toolboxes. If not, purchase them as part of an entire set of DIY jewellery tool set.

10 Quilling Materials Needed for Making Paper Jewellery at Home
|
|
|
|
|
|
|
|
|
|
Quilling Board
Quilling is all about strips of paper being rolled into a spiral shape. Therefore, as a DIY paper jewellery designer, you will need a good quilling board to ensure similarity in spiral size.
Quilling Paper Strips
Paper strips used for quilling are sleak, colourful and straight. As a DIY jewellery artist, you can either make them on your own easily. Else, you can go for the ready made packaged bundles as well. A lot of manufacturers have their handy quilling strips available in the market.
Piercing Tool
Piercing tool will be needed in quilling if the paper you’re using is too thick. Its nothing fancy. You can use a simple tweezer or toothpick as a home made piercing tool. Some people even use simple needles.
Slotted quilling Tool
A slotted quilling tool will allow you to roll your paper strips effectively. It needs to be mentioned here that slotted quilling tools go well for normal paper strips. However, if you plan to intend slightly thick paper like cardstock then you’ll need a tool with a larger opening.
Feviquick/Glue
A feviquick or glue is required to attach the final rolled strip to the rest of the spiral.
Scissors
You’ll need scissors if you plan to create your quilling paper strips yourself.
Needle Tool
A needle tool will be required to fold the quilling paper into rolls to finally form a spiral. This tool is extremely important for making the quilling technique a success. In fact, it is one of the most significant things required to make paper jewellery at home by using quilling.
Ruler
A ruler will help you measure and cut out same size quilling paper strips. But if you’re buying ready made strips, you don’t need a ruler.
Damp cloth
A damp cloth is optional but as a DIY jewellery designer you should make use of it to wipe your glue stricken hands. Else, there are chances of messing up the paper used for making jewellery.
Thermocol Sheet
A thermocol sheet is optional but I insist you use it to keep all your stuff well and organised.
I hope that after reading my blog, you must have gotten a fair idea as to what all you need to begin your ‘make at home paper jewellery’ project. If you get stuck anywhere or have any questions, feel free to post them in the comments section below.
