Beginner guide for making wooden necklace will provide everything from scratch. Every step is thoroughly explained for anyone – be it a hobbyist or a newbie artist.
This guide explains how to cut, carve, sand and polish wooden necklace at home. Newbies will have a great learning experience in making beautiful handmade neckpieces.
Before you begin, make sure you select softwood that is easy for woodworking such as balsawood or pinewood. You could get leftover wood pieces from your garden. Don’t cut trees, use scrap wood.
A Complete Beginner Guide for Making Wooden Necklace
Beginner guide for making wooden necklace involves choosing the right wood first as I have mentioned above. Now, plan a thoughtful necklace layout before you begin with woodworking.
Now, measure the correct size (in inches) of wood shape for making necklace then you can proceed with woodworking. Let me walk you through twelve crucial steps. Read carefully and practice at home.
| 1. Learn Basic Methodology |
| 2. Gathering Supplies |
| 3. Wood Cutting |
| 4. Wood Carving |
| 5. Sanding Wood |
| 6. Drilling Hole |
| 7. Painting Wood Shapes |
| 8. Stringing |
| 9. Knotting |
| 10. Waterproof |
| 11. Let it dry |
| 12. Ready to Wear |
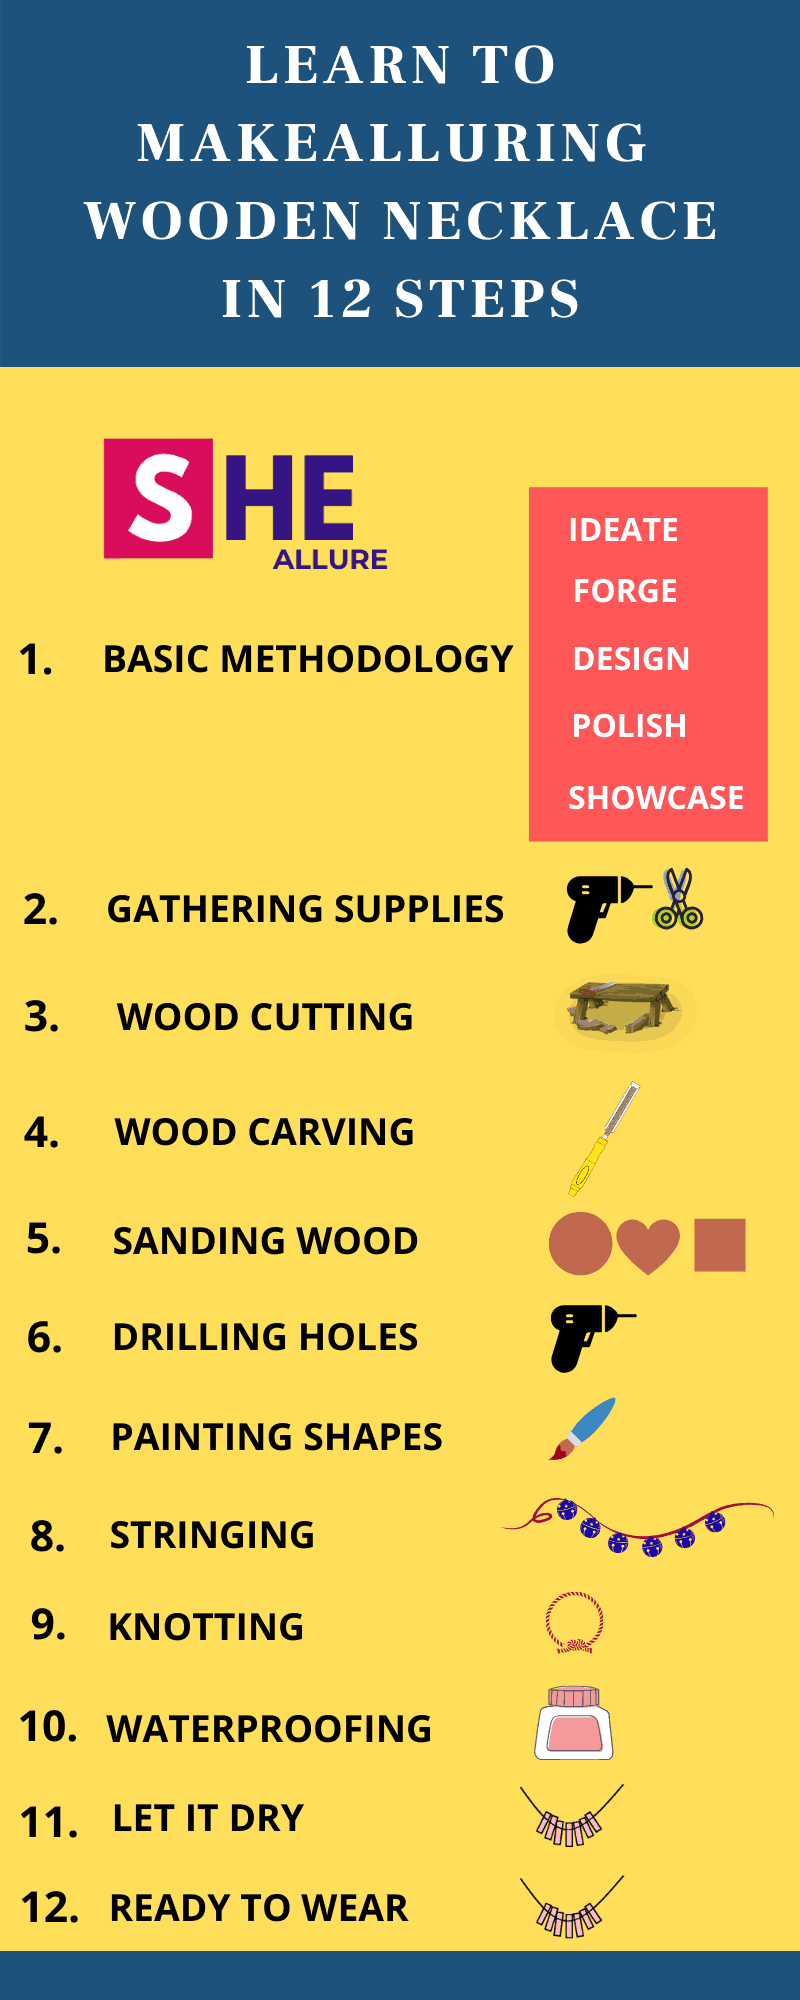
12 Crucial Steps To Make Wooden Necklace for Beginners
Let us delve deep and learn step by step instructions to make a wooden necklace at home.
STEP1. Learn Basic Methodology
As a DIY jewellery artist, the methodology process is important for all. There are five vital steps to make any handmade jewellery – ideate, forger, design, polish and showcase. Keeping these points in mind, crafting becomes much easier.
STEP2. Gather Supplies
Let us begin by gathering essential supplies.
- Wood shapes
- Dremel
- Drill
- Nylon Cord
- Jump Rings
- Gold/Silver Chains (Optional)
- Acrylic Paints
- Beads and Charms
- Varnish
STEP3. Wood Cutting
If you are a detail-oriented craftsperson, this step is crucial to learn. Woodcutting can be accomplished in three different ways –
-
Manual Tools
Woodcutting using manual tools is a very economical method which can be irksome fr beginners but doable. Start at your own pace and you will end up learning a lot.
-
Dremel
Woodcutting becomes more easier with a dremel machine. It is quite handy, multifunctional and saves a lot of time. All you need is to make an outline shape on wood and cut through with a dremel.
- Laser Cutting Technology
Laser cutter machine produces desired wood shapes quickly as you get access to it. Look for places and get it done. It is a boon for jewellery designers.
STEP4. Wood Carving
When you get fancy wood shapes, you can start carving manually with a chisel/carving knife or by dremel machine Both works very well and you could carve a monogram, personal message and lot more cute designs on the wood shape.
STEP5. Sanding Wood Shapes
Sanding wood is the process of removing rough surfaces, scratches from the wood shape. This is required to give a fine finished shape to your necklace.
You can sand wood manually by rubbing with a 150 grit sandpaper or with dremel machine till you see the scratches are completely gone. Both are awesome, you can choose any method.
STEP6. Drilling Hole on Wood Shape
Drill a small hole to the wood shape. Connect your jump ring and insert nylong thread to the jump ring. This is a very important step for making a wooden necklace.
STEP7. Painting Wood Shapes
Now you’ve reached the most fun part – Painting wood shapes. Choose your favourite color and start to paint. Let it dry for few seconds.
Tip: You can use embellishers like pearls, 3D emboss paint, sparkles, glass beads and so many varieties for making ethnic wooden necklaces.
STEP8. Stringing
Add wooden beads or (any beads of your choice) into the thread till you reach the end. This step is called as Stringing beads.
STEP9. Knotting
The next crucial step is tie knots at least thrice thoroughly then drop a pinch of glue to the knotting part.
Step10. Waterproof Your Wooden Necklace
Don’t forget this step when you are workind wooden jewellery as it will get tarnish due to moisture. Take a thin paintbrush and gently apply varnish to your necklace in small amounts.
STEP11. Let it Dry
Varnish will take at least 24 hours to dry. Hence, leave your necklace overnight.
STEP12. Ready to Wear
Voila! Your handmade wooden necklace is now ready to wear.
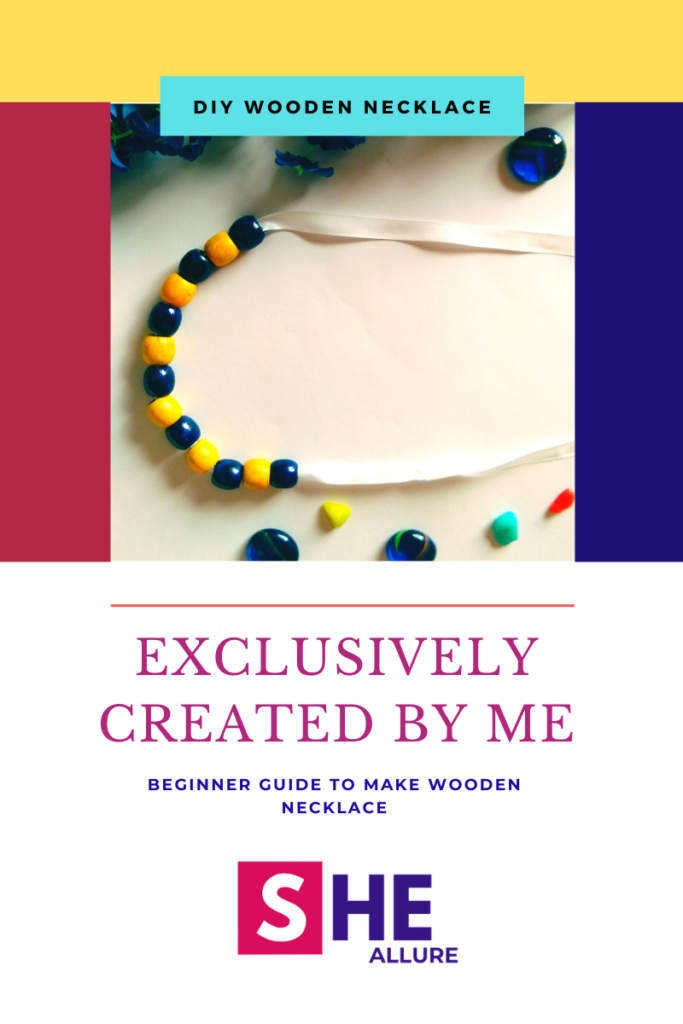
Let’s Be More Creative, DIY Wooden Necklace with a Ribbon
Have you ever tried making a wooden necklace using a Ribbon? I did and I would love to share how I made a gorgeous wooden beaded necklace using a ribbon.
The process is same and very easy. The only change is the ribbon instead of using nylon thread. Hence, follow the above steps and make a lovely necklace for yourself. Take a quick look at my creation.
Sew-on Wood | DIY Contemporary Wooden Necklace
Have you ever wondered making an artistic wooden necklace with a beautiful embroidery work? Well, this is an extraordinary idea. Drill holes in a wood shape and start sewing lovely embroidery work on it.
Materials Required
- Wood Shapes (1 or 2 thin slices)
- Drill
- Wooden Beads
- Nylon Thread or Chains
- Pencil
- Jump Rings
- Acrylic Paints
- Clay Liquid
- Paintbrush
- Polymer Clay Canes
- Varnish
- Thread
- Needle
The whole is the same except for two things – Embroidery work and gluing polymer clay canes to the wood beads. The first step is – Mark the points accurately on wood shapes for sewing embroidery then begin with drilling holes to the wood. Insert thread into the needle and start sewing on the wood shape.
Repeat Step 8 & 9 mentioned in the above tutorial and decorate wood beads with polymer clay canes. Apply some polymer glue on beads and put clay canes one by one on the beads by pressing it by your fingers.
Must-Read FAQs to Make Wooden Necklace at Home
| Q1. How can we get a Dremal machine? Is it costly? |
| Ans. It depends on the type and number of features. It is not that costly. Dremel Machine can easily be purchased from the local market and alternatively from the Amazon Store. |
| Q2. What are some manual tools required of wood cutting for making wooden jewelry? |
| Ans. If you are looking for a manual wood cutting procedure there are 4 tools – Chisel, hacksaw, Drill, and Knife. You can go through my recently published blog to have a clear idea about woodcutting process. |
| Q3. What kind of décor items we can use to make a wooden necklace? |
| Ans. Resin beads, Pearls, Acrylic Beads, Polymer Clay Can, Sparkles, Small wooden beads, etc. So many décor ideas. You can use your imagination and make something extraordinary from existing supplies available at your home. |
| Q4. How do we get thin slice wood shapes? Is it necessary? |
| Ans. Laser cutting technology is the best way to accomplish this job. Look for the places where this machine is used and get desired thin wood slices. |
| Q5. Where we can purchase readymade wooden heart shapes? |
| Ans. You can purchase readymade wooden heart shapes from your nearest hobby store or directly purchase from Amazon store.
Alternatively, I can suggest you a better idea that will save your money is using leftover wooden blocks. Try to reuse wood if you like instead of spending money on buying wood shapes. |
| Q6. Suggest some more ideas to reuse daily supplies for making wooden necklace? |
| Ans. Well, you can use buttons, paper pins, safety pins, wool, thread and so many ideas that are available at home. You don’t need to hustle to get those supplies. So use them to make homemade wooden jewellery. |
| Q7. After waterproofing, How do we prevent the paintbrush from getting hardened? |
| Ans. In order to prevent your paintbrush from getting hardened, use Turpentine oil and wipe your paintbrush with a cloth. |
I hope you liked the tutorial. Do share your thoughts, suggestions, or ideas in the comment section below. Try making your own beautiful homemade necklaces and share it with me. I would love to see them. Thank you. Happy Crafting.
