How to Make a Wooden Ring Holder? Well, this is one of the most economical art that doesn’t require purchasing. Besides crafting fancy wooden rings at home, it is important to learn the art of making storage items that keep your rings safe and organized.
Do you know you can use recycled wood to craft wooden ring holders? Also, If you are looking for fancy shapes, this can be possible by learning some useful techniques that require some woodworking and carving that looks magnificent and authentic.
Today, we shall learn and unleash some creative ways of making wooden ring holders that you will love and showcase for selling purposes. Hence, I am going to teach you some simple steps and techniques. Let’s learn together.
13 Effective Steps To Make a Wooden Ring Holder
How to Make a Wooden Ring Holder in 11 Effective Steps?
Wondering what are the crucial steps to make a wooden ring holder? Well, I am going to share them for talented designers seeking an answer to this question. Before we begin learning, let us understand some intricacies about the rationale behind using wood for crafting ring holders and thereby keeping your jewellery organized and safe.
Wood is an incredible raw material that is light-weighted, economical, long-lasting and eco-friendly. If you want to learn about the reasons for using wood as a raw material in making jewellery items, you can read my elaborated blog.
Moving on, let us learn together eleven effective steps to make a wooden ring holder along with tips to showcase them for selling purposes. Take a peek at my tutorial.
| Step1. Planning Ring Holder Designs |
| Step2. Supply Gathering |
| Step3. Wood Cutting to Make Ring Holder |
| Step4. Carving Ring Holder |
| Step5. Sanding Wooden Ring Holder |
| Step6. Make a Hole and Join Cup Hook |
| Step7. Painting Wooden Ring Holder |
| Step8. Waterproofing |
| Step9. Let it Dry |
| Step10. Decorate (Optional) |
| Step11. Showcase Wooden Ring Holder |
Now let us delve deep and understand the detailed version of the key points to make a wooden ring holder.
Step1. Design Planning to Make a Wooden Ring Holder
When you think of a design of a wooden ring holder, the ideas are endless. Every DIY jewellery artist must do research and planning a layout design of a ring holder that you’ll store them in an organized way. You can plan shapes like a cone-shaped display stand, tree-like ring holder, wooden box, etc. Make a sketch or a digital print and save it.
Step2. Supply Gathering
After you’re done with design planning, let us gather the basic supplies required to make a wooden holder.
| 1. Leftover Wood |
| 2. Dremel |
| 3. Acrylic Paint Colours |
| 4. Paintbrush |
| 5. Cup Hooks |
| 6. Hammer |
| 7. Varnish |
Friends, I have listed out leftover wood as I don’t think we need to hustle for this incredible material that is easily available so all you need to look for places like home gardens or construction sites, homes where you will get leftover wood. Use them to make a ring holder.
Most importantly for getting desired wood shapes out of leftover wood material, I won’t recommend you to try manual wood cutting method as they are of hardwood type. My strongest piece of advice is to get it done from a carpenter or from a place where laser cutter technology is used. That way you will get desired fancy shapes. Furthermore, if you have softwood material then you can use a dremel and cut them into rectangular shape.
Step3. Wood Cutting to Get Desired Shapes
Getting the desired wood shapes to make a ring holder is crucial that can be accomplished by using a Dremel Device. Make an outline on the wood piece and cut along to get those shapes. Dremel is most recommend for professional designers as it saves time and produces better outcomes.
If you want to learn how to cut wooden jewellery using a manual procedure, you can read my blog. Manual tools are difficult to work with as you need to be super alert while cutting wood using a hacksaw so as to not harm yourself. Alternatively, you can get it done from a carpenter.
Furthermore, you can choose to get access to laser cutter technology that is a boon to DIY jewellery designers to get fancy shapes for making a wooden ring holder. You don’t have to own it as they are super costly. Look for places and get access to this technology.
Step4. Wood Carving on Ring Holder
Now that you have the wood shapes available with you it’s time to carve and have fun. You can make a monogram, slogan, name, smiley or any design that makes you happy. Let me guide you, outline a design with a pencil and carve along using a dremel machine.
Alternatively, you can carve wood using a manual tool called a chisel. Scrape it on design and it’s all done. This method is economical but takes a long time as compared to Dremel.
Step5. Sanding Wood
You would not want to use a wooden ring holder that has rough surfaces hence we need to sand well to give a perfect finish. Sanding process can be accomplished in two ways-
- Using a Sandpaper- Use top-notch quality sandpaper that is rubbed on the rough wood surface to give a fine finished look.
- Dremel- Apart from woodcutting, carving Dremel sands well to unfinished wood shapes. You can use the attachment and start doing it from Dremel device. This will save time and performs incredibly.
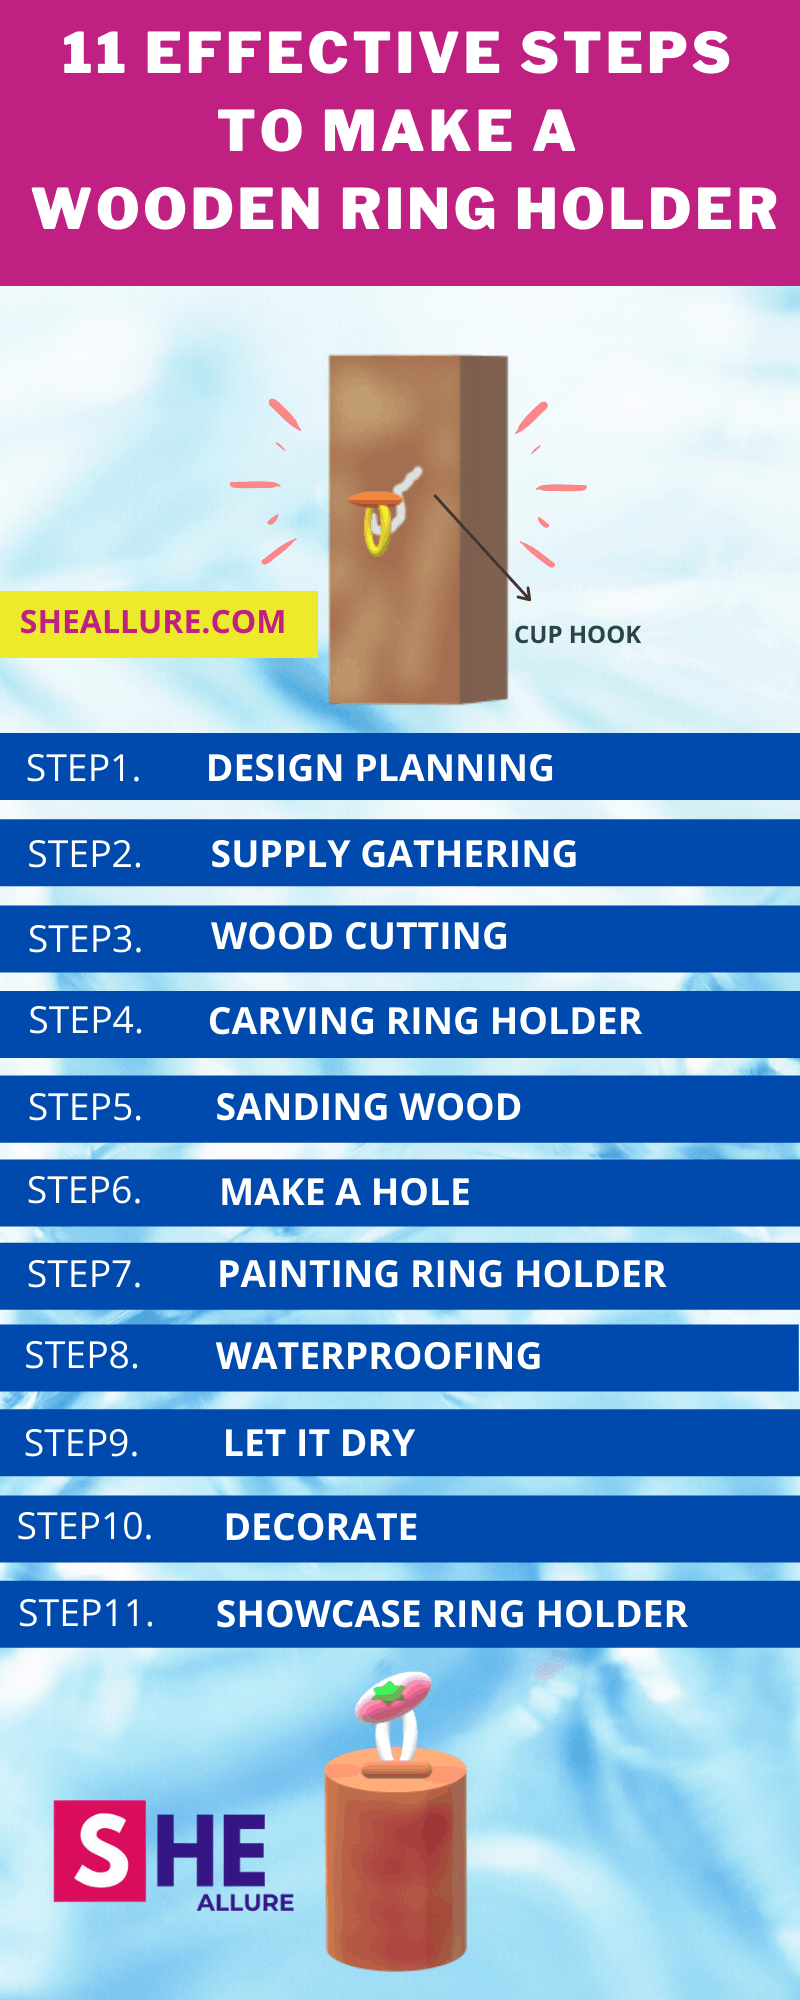
Step6. Make a Hole
You need the most crucial supply i.e a cup hook that looks like a question mark symbol and allows you ring to hang. Strike hammer to the cup hook that way you can hang your rings. This is a very important step. Also, be careful while striking a hammer on wood.
Step7. Painting Wooden Ring Holder
Paint your wooden ring holder with colorful shapes of your choice. If you want to make your wooden ring holder simple you can leave this step.
Step8. Waterproofing
Waterproofing wooden ring holder is an essential part that is usually skipped out. Take a thin paintbrush and gently apply varnish to it.
Important Tip: Varnish hardens the paintbrush. To prevent it from getting hardened using a turpentine oil and wipe it from a damp cloth. This will soften your paintbrush.
Step9. Let it dry
Varnish will take at least 24 hours to dry. Leave it overnight and see the glossy effect of your wooden ring holder the next morning.
Step10. Decorating Ring Holder
You can use some sparkling beads, decorate your ring holder and make it more attractive.
Step11. Showcasing Wooden Ring Holder
Showcasing a wooden ring holder is one of the interesting art where you get a chance to use some basic props available at home and learn photography. How exciting is that? Isn’t it?
I am happy to share my recent blog on how to make wooden bangles along with some useful tips to showcase your jewellery. You can take a look and learn.
5 Interesting Wooden Ring Holders You’ll Love To Craft
This is the most interesting section of this tutorial as we shall learn to make types of wooden ring holder.
- Pyramid Shaped Ring Holder
- Rectangular Shaped
- Cylindrical Box to showcase rings
- Tree Shaped to hang your rings
- Flat square box
Let me show you a graphical representation of wooden ring holders to showcase your charming rings to the world.

In order to click some fantastic pictures for showcasing your homemade wooden ring holders and jewellery, let me share some tips. You will require a white chart paper (or any colour of your choice) for the background, a table, a tripod, a table lamp and a flower vase for decoration. Place your wooden ring holder on a table and use a chart paper in the background or a whiteboard if you have, place a flower vase next to wooden ring holder. This will give lovely view of your product.
Now we need a table lamp to shed some light to wooden ring holder that will produce awesome clicks. Alternatively, you can do photography under natural sunlight. Click pictures from all the angles keeping in mind the lighting effects and camera focus. Practice and you’ll learn photography using your smartphone. Moreover, If you have a camera with you, that’s great you can use it and click stunning pictures and share them to the world.
Must-Read Faqs to Make a Wooden Ring Holder
| Q1. How to get fancy shapes from leftover hardwood? |
| Ans. You can get it done from a carpenter and carve using dremel machine. You may also skip carving on hardwood and make a nice design on wood. |
| Q2. Can we do photography using a smartphone to showcase wooden ring holder? |
| Ans. Yes absolutely, you can use your Smartphone, white background (using a chart paper), some colourful stones and flowers and showcase by clicking beautiful pictures and share across your friend circle, social media and eCommerce platforms like Amazon, Flipkart and Etsy to sell your products. |
| Q3. What is the procedure of manual wood carving? |
| Ans. In order to perform wood carving you can do it using a chisel tool. This procedure takes time as you have to scape it slowly with a chisel by hand but it’s very skilful art in case you don’t want to use a dremel. |
| Q4. What is cup hook? |
| Ans. Cup Hook is like a question mark that you need to attach with your wooden holder in order to hang your rings. |
| Q5. Suggest some ideas to make wooden ring holder more appealing? |
| Ans. You can you mirror shapes, pearl beads, small stones and glue them to make it more attractive. |
| Q6. What kind of props we can use to showcase wooden bangles? |
| Ans. You can use tree-like holders, wooden box and photograph with a nice background such as white chart paper, plant photography, surround your product with small stones or flowers, you can even click your picture with bangle and showcase to the world. |
| Q7. What kind of jewellery can be made from wood? |
| Ans. You can make wooden pendant, wooden rings, wooden beaded bracelet, wooden necklace, wooden bangles and earrings at home. I have written a detailed guide on each and every jewellery mentioned. You can read and learn. |
Friends, I hope this blog has helped you giving clarity on the question “How to make a wooden ring holder?” I have elaborated some important faqs for beginners hopefully it helped you else you are free to share your thoughts, questions, ideas, and suggestions in the comment box. I would love to answer them. Thank you for reading my blog. Happy Crafting.
