Lessons learnt from making my own jewellery was experimenting with things and create extraordinary designs. Don’t fail to try with things that very few people able to accomplish.
The more you play with your own ideas, the better is the outcome. Besides adorning, crafting jewellery is more of taking the plunge and bring out new inventions by hustles.
Experimenting with natural things like scrap wood, paper easily available at home and follow the correct procedure is what I learnt throughout my journey of my own jewellery making.
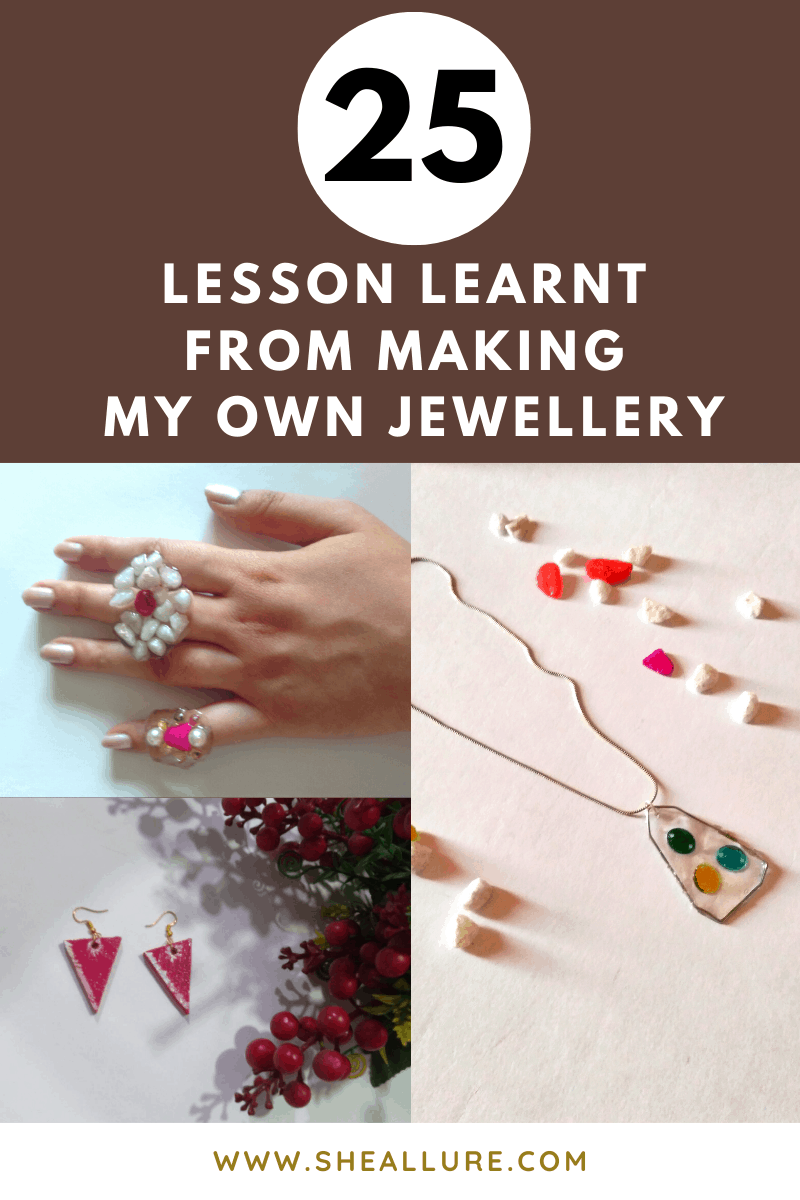
25 Unforgettable Lessons Learnt From Making My Own Jewellery
Lessons learnt from making my own jewellery is to be original and ready to experiment with ordinary things to make an extraordinary piece out of it.
I am happy to share the amazing lessons learnt throughout the crafting journey.
1. Research
Before I began jewellery making, I did some market research on wooden jewellery and the ideal wood type for making handmade jewellery.
Softwood like Balsa and Pinewood is what we can say good for DIY crafts but there are more types. Also, I did rigorous research on the complete procedure on jewellery.
2. Design Planning
Always make a stunning design layout of the jewellery you are going to make yourself. Planning is the right roadmap to creativity.
Bring out the design that is on your mind and make a digital layout immediately. This should be very clear before you begin making homemade jewellery.
3. Correct Thread Measurement
This is the first and foremost step whether we are making a necklace, ring, pendant or bracelet. Always measure thread size correctly. Wearing a wrong sized jewellery is a disaster.
4. Be Original
Originality is the essence of success. Your ideas will change the world. I took inspirations and used my imagination to create ethereal jewellery collection.
My message to all jewellery makers, Look around and try to imbibe daily things that are available right at your home and make authentic pieces that stand out.
5. Must-Have Full Jewellery Findings
I struggled a lot due to incomplete jewellery findings as I was totally unaware as a beginner. Then I pull out my diary and list out more findings to add to my jewellery making kit.
5. Wooden Jewellery Last Longer
I have learnt the amazing properties of wearing jewellery made of wood. Reason being, it is light in weight, doesn’t produces odor, and comfortable to wear for a longer span of time.
6. Pinewood Jewellery Works Well Like Balsawood
I had a great experience with pinewood cutting at home and made a few eye-popping earrings that dazzle and very comfortable to wear.
For a beginner, it is recommended Balsa wood, which is easy to cut and sand manually. Pinewood is another great wood pieces of making jewellery which I have recently tried.
7. Jewellery from Wooden Spoons is Doable
I feel so proud to share a wonderful lesson that you can wooden spoons for making jewellery pieces. I have exclusively made stud earrings, tie pins, wristbands for men recently during the lockdown.
8. Always Waterproof Jewellery
I took some time to understand the entire process of making jewellery, especially with wood and paper. The process ends with polishing wooden or paper jewellery to prevent from moisture.
8. Always Use Leftover Wood
I prefer reusing leftover wood pieces for craft purposes. Initially, I used readymade wood shape then I began to gather scrap woods and I made beautiful jewellery pieces out of them.
Being a huge supporter of the environment, I strongly advise all my fellow jewellery artists to upcycle leftover wood and that is the best way to contribute your bit to the planet.
9. Knowledge of Pliers
I acquainted myself with the functioning of pliers. First I had only flat nose pliers, then I purchased side cutter and round nose pliers which are essential tools.
I learnt to twirl metal wires, loops, and flattening techniques myself to understand deeper on the tools.
10. Correct Technique to Paint Beads
If you want to give a perfect finished bright colored wooden beads, use unfinished wood shape. To avoid your hands getting messed up I used long sticks. You can even consider skewer, put the wood beads, and start to paint all over.
11. Clean Paintbrush After Polish
The crucial step post polishing wooden jewellery is to clean the paintbrush with turpentine oil. This prevents the hardening of the paintbrush thus cleaning is essential.
12. Patience While Woodcutting
One of the toughest jobs for a beginner like me was woodcutting with a hacksaw. The lesson learnt is to have patience, be focused, and be slow while cutting wood.
13. Paint Unfinished Wood Piece
Painting unfinished wood shapes or wood beads gives good results as compared to polished wood shapes or beads. For a perfect finish use raw wood shape.
14. Knotting Techniques
As a beginner I didn’t take knotting seriously but when I got to know a couple of knots such as sliding knots and single knot which needs to be done twice. I was astonished and practiced thoroughly.
15. Using Minimum of 100 Grit Sandpaper is Must
Well, I did some research and learnt sanding paper grit fact. We must use a minimum of 100 grit sandpaper not less than it. I used 150 grit sandpaper and great outcomes.
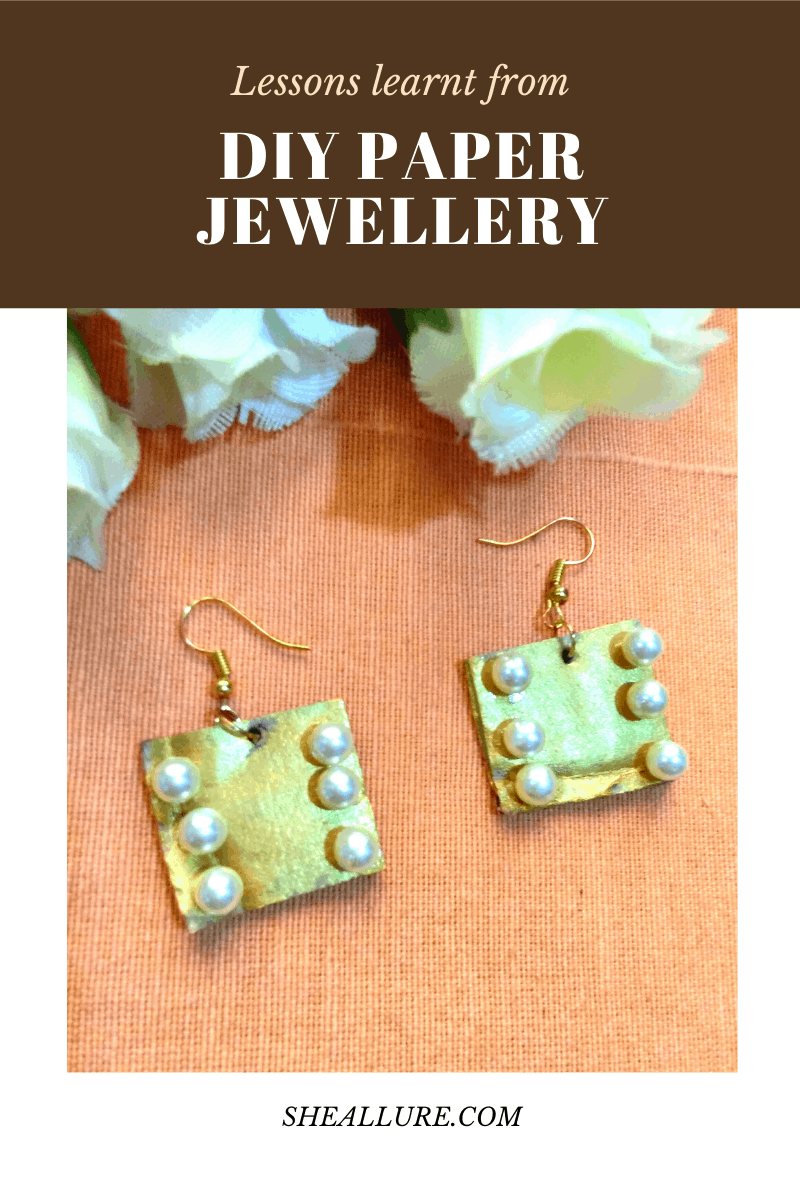
Most Economical Paper Jewellery Making Process
One of the cost-effective jewellery making craft is Paper jewellery. The best part is to save costs and make enticing pieces at home with paper.
Paper being light-weight is highly beneficial ideas for entrepreneurs who seek cost-saving ideas. Try paper quilled jewellery from cardstocks, newspaper, magazine covers, and whatnot.
16. Recycle Cardstock Paper
I had cardstock pieces available with me and made beautiful earrings. The biggest myth on paper jewellery making was that it can’t be made water-resistant.
17. Paper Quilling with Toothpick
I made paper quilled earrings with an old newspaper. The best lesson I have learnt is quilling can also be done with a toothpick which is a good thing to know in case of paper quilling tools.
Fascinating Resin Jewellery Making Lessons
I love resin jewellery and did a lot of research in terms of epoxy and hardeners mixing ratio, how long does it take to cure and durability. Let me share some of my experiences on this stance.
18. Correct Ratio of Epoxy Resin
For the first time, I tried making resin jewellery from epoxy resin with all safety precautions. I have Resin A and Resin B and learnt to mix them in equal ratios.
I made sure to mix till we see white particles are not visible and finally made a resin pendant. I have also learnt how to make resin rings without molds.
19. Preventive Clothing
Safety is the biggest lesson learnt for my own resin jewellery. Epoxy resin in liquid form is harmful and becomes non-toxic once cured.
I used hand gloves and mask as it produces fumes which can be harmful to your respiratory system. So always, make this point mandatory while making resin crafts.
20. Comparisons Between Epoxy and UV Resin
The best lesson was learning about two different categories of resin – Epoxy and UV. The conclusion was epoxy takes longer time than UV hence better for making jewellery.
Self-Taught Photography Skills With Regular Stuff
The best ever lesson I learnt to photography my own jewellery was to adapt a cost-effective method. Well, You don’t have to buy a professional camera, just use your android phone and take gorgeous pictures of your handmade jewellery.
21. Home Decor Items for Better Clicks
Let me share basic things to get started-
- White Chart paper for Background
- Home decor items
- Flowers
- Flower Vase
You can surely use any of these kinds of stuff for decorating purposes to get perfect clicks. I tried myself and it works wonder.
22. Choosing the Right Glue
One of the important lessons learnt while making my own jewellery was understanding the significance of the correct adhesives. I used fabric glue earlier then I discovered E6000 glue which really worth it.
23. Correct Positioning While Drilling Wood Holes
If you are a woodworker or getting things done from a carpenter, make sure you mark a central point at the top of the wood shape. This will allow your jump rings to fit perfectly while making any jewellery.
In case of wrong drilling, all you can do is use metal wires and a pencil. Roll them to make jump rings of a much bigger size to avoid wood waste.
24. Transparent Tapes for Resin Rings
I did not purchase any molds, I found a very amazing technique for making resin rings – Transparent tapes in my recent tutorial. Once the resin is completed cured, it is easier and hassle-free to peel off the design from the tape.
25. Handmade Ring Base
I didn’t have a readymade ring base therefore, I have used paper clips, twirled them with pliers, and made a ring base. I made things that were not available.
Taking the plunge and not failing to try out new ways of making crafts are the most important lessons learnt from making my own jewellery. I hope my entire journey does make an impact.
Do share your thoughts and experience with me. I would see them. Thank you. Stay tuned for more interesting experiences and tutorials. Happy Crafting