Beginner Guide for Making Wooden Rings will give you amazing insights, step by step instructions and techniques that are easy to grasp for everyone.
The whole tutorial is divided into two sections- readymade supplies and recycled wood to make stunning rings. Being a true nature lover, I encourage designers to use reused wood and save trees.
Rings are the most popular accessory every girl loves to adore. Instead of hustling readymade gifts, How about crafting handmade wooden rings this Valentine?
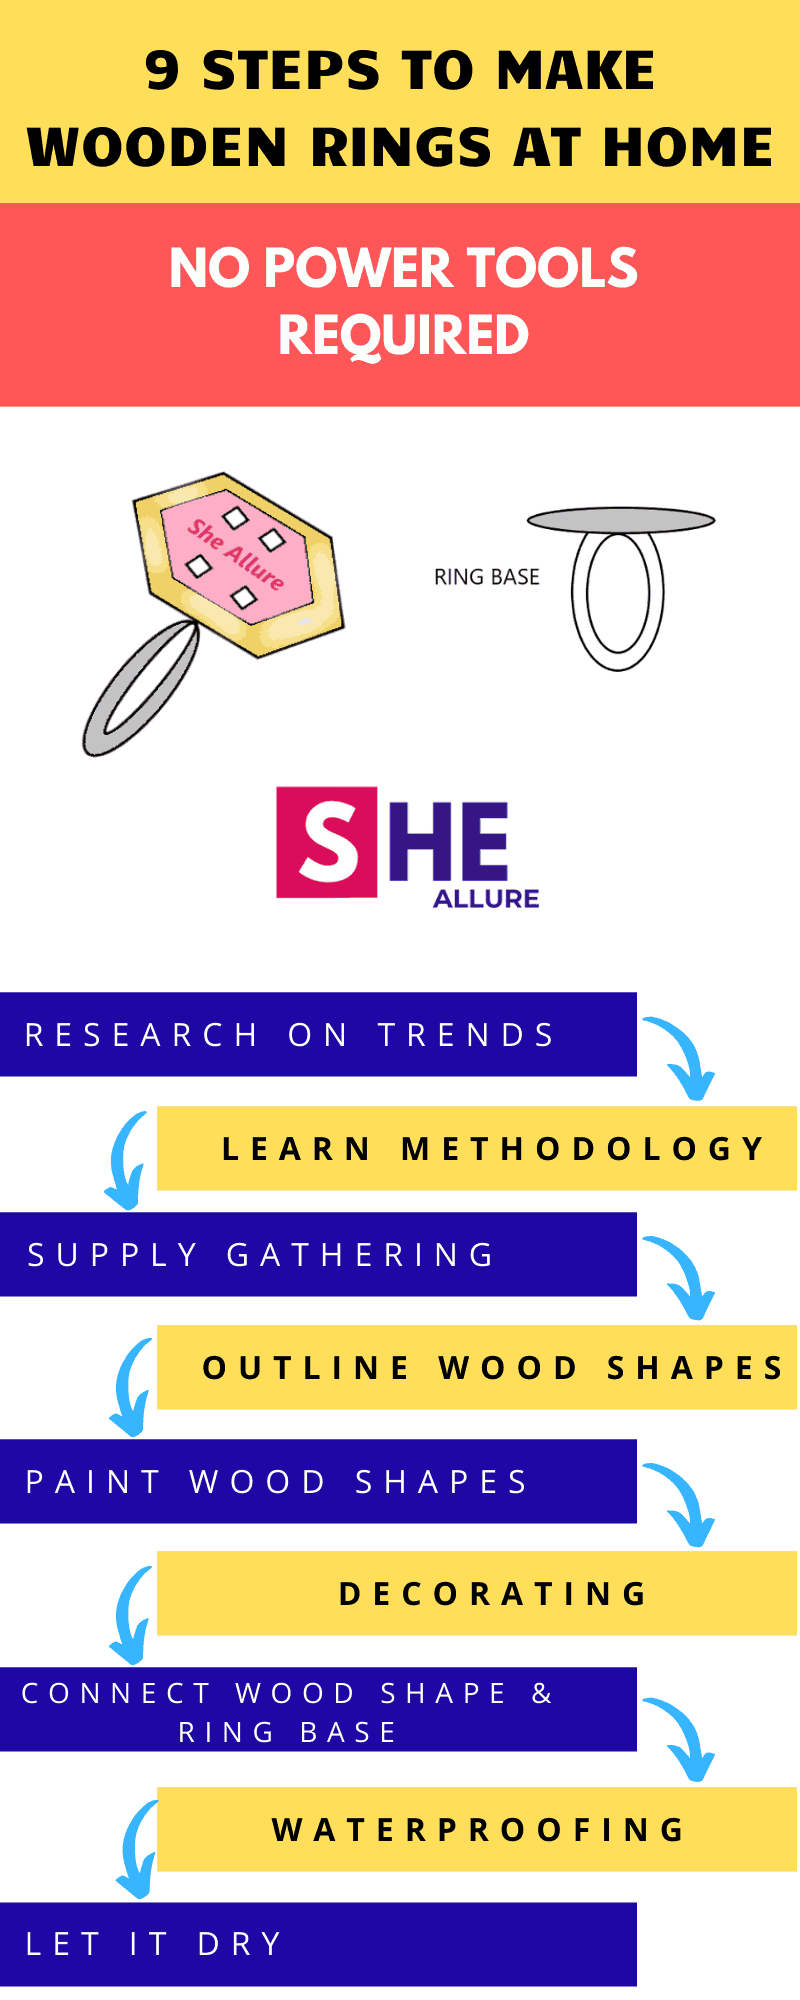
Beginner Guide for Making Wooden Rings in 9 Easy Steps
Beginner guide for making wooden rings involves hassle-free steps making without power tools for all skill levels who want to learn or take their skills to the next level.
| 1. Research on Trending Rings |
| 2. Learn Basic Methodology |
| 3. Gathering Supplies |
| 4. Outlining Wood Shapes |
| 5. Painting Wood Shapes |
| 6. Decorating |
| 7. Connecting Wood Shape with Ring Base |
| 8. Waterproofing |
| 9. Let it Dry |
Step 1. Research on Trending Rings
Always do thorough research on trending rings then proceed with making your own designs. Think of creative ideas and make your exclusively designed gorgeous ring as a gift that is trendy, authentic and stylish.
As per the latest trends, Mix and Match rings are taking the center stage. Make a trendy ring and stack them up with other varieties that make a unique combination to your outfit.
Step 2. Follow Basic Methodology
Before you begin making wooden rings, recollect 5 basic methodologies for making any jewellery piece at home. These crucial points will remove all your confusions and you can easily make your rings without any hassle.
Step 3. Gathering Supplies
You will essential materials to make a beautiful wooden ring without any power tools.
|
|
|
|
Step 4. Outlining Wood Shapes
Make an outline design on your notebook you wish to have your wooden ring look like.
The first step is to plan out a design on a piece of paper. Once you finalize the design, make an outline sketch using a pencil and highlight with a black sketch pen to enhance its look.
Step 5. Painting Wood Shapes
Now it’s time to make beautiful eye-catching shades on wood shapes. Alternatively, I can suggest you use 3D Emboss paint to make more attractive wooden rings. I personally love emboss painting and this is one of my favorite artworks.
Step 6. Decorate
Decorating jewellery is the most significant part of this process but if you want to make it simple, you can skip this step. You can use small pearl beads, glitters that give a shimmering look to your rings.
Step 7. Connecting Wood Shapes with Ring Base
Connect your ring base with a wood shape with the help of a feviquick/glue.
Step 8. Make your Ring Waterproof
For every DIY wooden jewellery designer, it is crucial to seal your artwork by waterproofing your jewellery with the help of varnish. Apply in small amounts with the help of a thin paintbrush. This will give a shimmering look to your wooden ring.
Note: Varnish hardens your paintbrush, use turpentine oil to prevent paintbrush from hardening.
Step 9. Let it dry
Let your wooden ring dry in normal temperature for at least 24 hours. Please do not cover it, let it dry as it is.
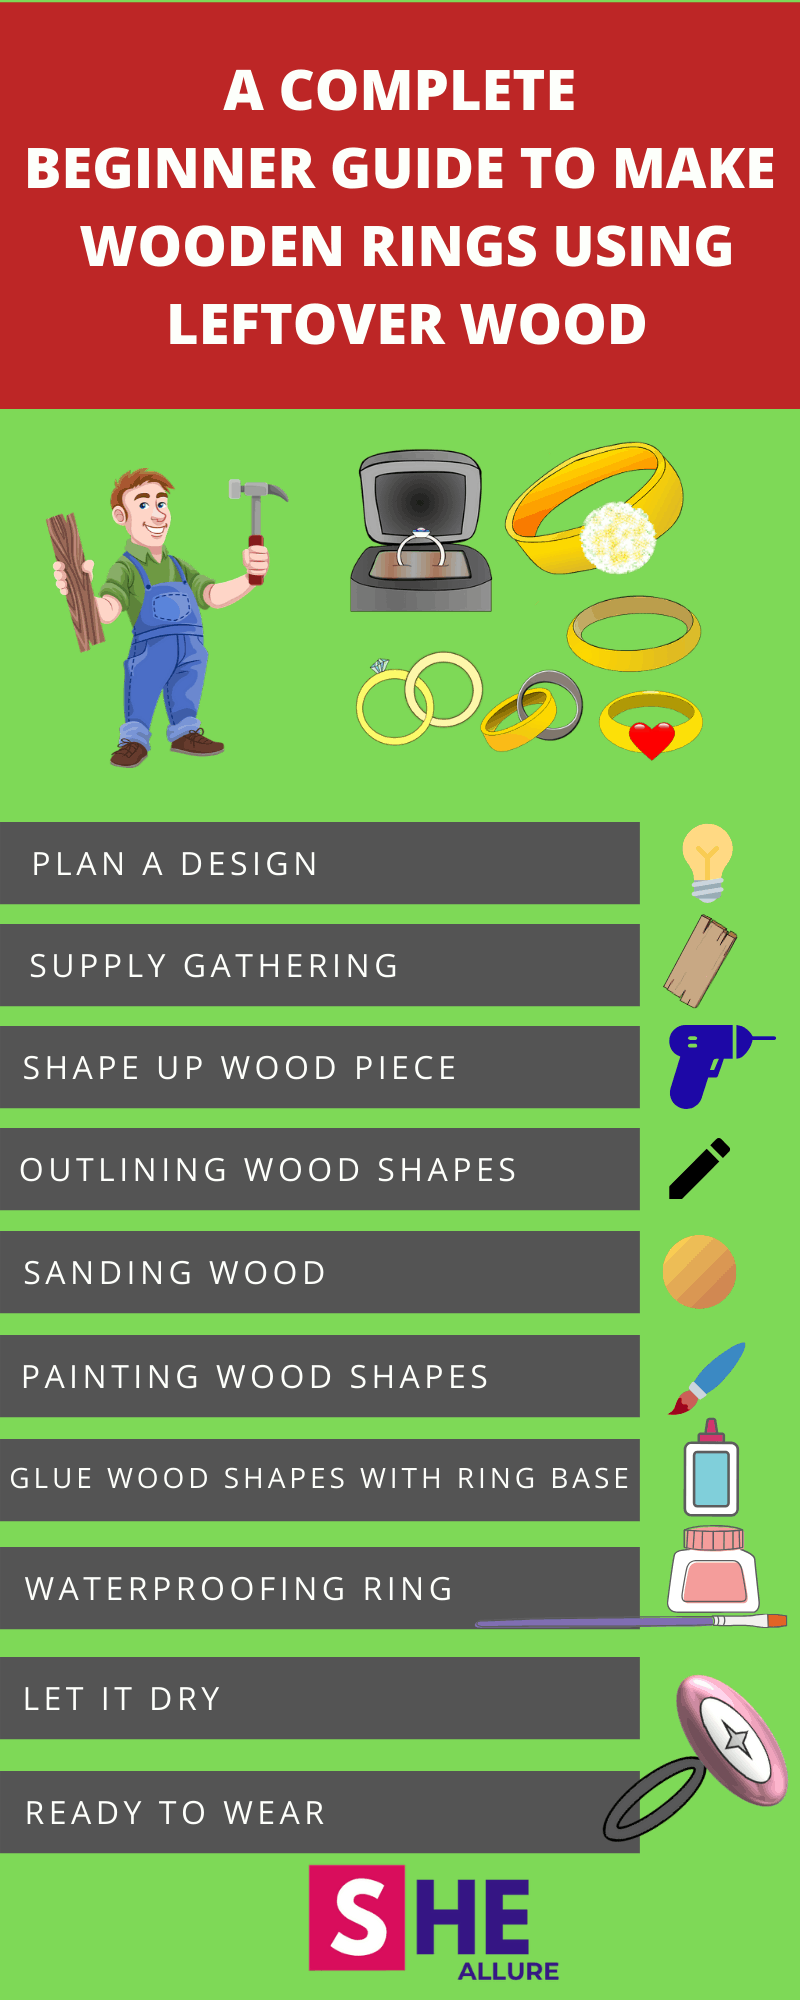
DIY Wooden Rings Using Reused Wood | 10 Simple Steps
When it comes to cost-cutting and saving the beautiful environment, I say recycling is the best method for crafting wooden jewellery.
So far, we have learned to make wooden rings with the help of readymade shapes, now it’s time to take the plunge honing your skill and learn some creative ways that involve power tools.
We shall now learn how to use reused wood that is usually seen at your home gardens and construction sites. Don’t trash wood pieces, use them and give the desired shape for making designer handmade wooden rings.
Let me share a step by step procedure which will help learn skillful methods.
Step1. Plan a Design
The first step is “Planning a Unique Design” on a piece of paper. In this step, imagination will do wonders. Make beautiful flowers, birds, peacock, animal or even a personalized message.
Step2. Supply Gathering
I have produced a list of essential materials for making a wooden ring at home. Jumpstart with supply gathering:
Materials Needed to Make Wooden Rings at Home
- Leftover Wooden Blocks
- Dremel
- Ring Base
- Acrylic Colours
- Feviquick
- Varnish
- Pencil or Thin Marker
Step3: Shaping up Wood Pieces
Time to shape up leftover wood pieces to make fancy rings. You can accomplish with the help of two important techniques.
- Laser-Cutter Technology
Laser cutting technology is a boon to all DIY jewellery designers to cut wooden shapes efficiently. It is very costly but you don’t have to own it. Look for places and get access to that superb technology that produces fancy wood shapes.
- Dremel
Dremel is a very popular method that is handy, easy to cut, carved, cleaned, buffed to make beautiful jewellery pieces at home. It is super useful for forging wood shapes to make a ring.
- Manual Wood Cutting
Manual woodcutting is the most inexpensive method which I have explained previously. This procedure is recommended for woodworkers who have some experience in manual wood cutting to make a lovely ring.
Step4. Outlining Wood Shape
Now that you got the desired shapes, the next step is Wood Carving. This can be accomplished using a Dremel. You will enjoy it.
Step5. Sand Wood
By sanding wood, I meant polishing wood. Sanding is the process of removing uneven edges or rough surfaces of the wood. This can be accomplished by rubbing manually with sandpaper or Dremel.
Step6. Paint Wood Shape
Now you have the finished wood shape ready with you, it’s time to play with colors and make lovely shades using a paintbrush to enhance the look of your ring. Let the paint dry.
Step7. Connect Ring Base with Wood Shape
This is the most important part of this tutorial. Connect ring base with a wood shape using a feviquick. Leave it for a few seconds.
Step8. Waterproof your Ring
Gently apply varnish in small amounts to a wooden ring. This is a crucial step to avoid getting tarnished. Don’t forget this step.
Step9. Let your Ring Dry
Varnish will take at least 24 hours to dry. Moreover, it will give a glossy look to your ring.
Step10. Ready to Wear
Your gorgeous handmade wooden ring is now ready to wear.
6 Important FAQs Especially Designed For Beginners
| Q1. How can I get a ring base? |
| Ans. I can suggest you buy a silver-plated ring base as a substitute that can easily be purchased from Amazon. |
| Q2. How to prevent paintbrush from hardening? |
| Ans. This is a very important question post the waterproofing process. Clean your paintbrush using turpentine oil and wipe it with a cotton cloth to prevent it from getting it harder. |
| Q3. Where can we buy a fine quality Sandpaper? |
| Ans. You can buy sandpaper from the local market or online from the Amazon store. |
| Q4. Suggest some ideas to make wooden rings at home? |
| Ans. There are two brilliant ideas for making homemade wooden rings:
1. Make Stretchable Funky Rings in 5 Minutes 2. Make Glimmering wooden rings by Sewing Method |
| Q5. Suggest the best Dremel machine for making jewellery? |
| Ans. You can buy either Dremel 4000 multifunctional device or 3000 version. You can choose any of them. Get it from the local market or Amazon store. |
| Q6. Suggest some decorative beads to enhance the look of wooden rings. |
| Ans. Yes, I can suggest 3 interesting beads for decorating rings :
1. Resin Beads 2. Pearl Beads 3. Acrylic Beads You can even use 3D emboss acrylic colour to give an eye-catching look to your ring. |
I hope you this beginner guide has helped you get the clarity on beginner guide for making wooden rings. Practice at home and master this craft.
Feel free to share your thoughts, ideas, and suggestions in the comments section below. Thank you and Happy Crafting!
