How to make wooden rings at home? without power tools. This guide is especially for beginners who want to have a hassle-free ring making experience in a short span of time.
Today, I am going to share some easy ways to make a beautiful wooden ring at home. All you need is readymade wood shapes and ring base available with you.
Let me walk you through detailed steps to make wooden rings at home as woodworking will be cumbersome for beginners. So let’s begin.
How to Make Wooden Rings At Home?
How to make wooden rings at home? in the shortest span of time no woodworking required. There are two ways to accomplish this task. Suppose you have the unfinished wood shape
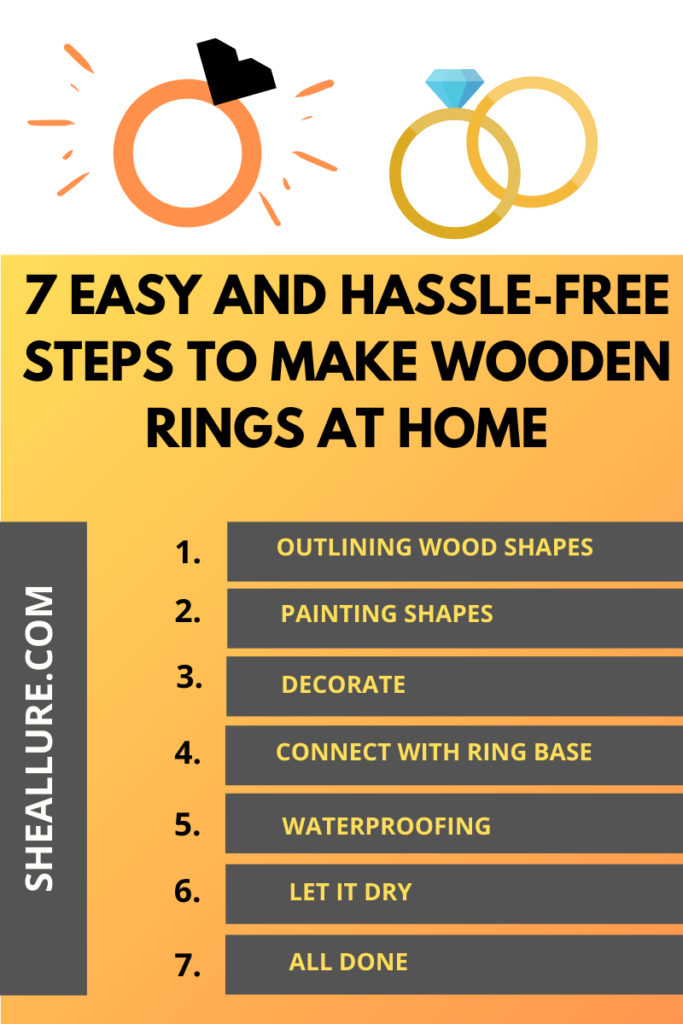
| Step 1. Outlining on the wood shape |
| Step 2. Painting shapes |
| Step 3. Decorating with beads |
| Step 4. Connect with a ring base |
| Step 5. Waterproofing |
| Step 6. Let it dry |
| Step 7. All done |
Making wooden rings by woodworking technique can be irksome for beginners hence I would like to share some easy methodology with you all. Let us begin and make spectacular wooden ring collections at home.
Before we start, let me give you a suggestion, you can either purchase readymade wooden shapes from your nearest craft store or get it designed the wood shapes from the carpenter.
Furthermore, perform the finishing part with the help of fine sandpaper to remove uneven edges of unfinished wood. By the way, if you want to learn woodcutting methods and want to have the basic idea of the wood types you can read my elaborated blog.
Trust me, girls, this is going to be the happiest moment of your life and you’ll love it. Moving on, to make wooden rings at home you will require 6 basic supplies.
Basic Supplies To Make Gorgeous Wooden Rings at Home
Whether it’s your project, business or for yourself. Here are must-have supplies to make wooden rings at home listed under:
- Wood Ring Base
- Wood Shapes
- Glue
- Acrylic Paint
- Beads/Sparkles
- Varnish
Step 1. Take a wood shape and sketch a beautiful design with a pencil
The first step is to plan out a design on a piece of paper. Once you are confirmed, make an outline sketch using a pencil and highlight with a black sketch pen to enhance its look.
Please note, If you have bought the readymade pre-carved wood shapes then you can simply paint all over with the help of acrylic paint. Here sketching is not required.
Step 2. Use acrylic colors and paint on the shapes as per your choice
Mix colors and make beautiful eye-catching shades on a wood shape ring. Alternatively, I can suggest you use 3D Emboss paint to make more attractive wooden rings. I personally love emboss painting, one of my favorite artworks and I assure you guys will love it.
Step 3. Take out the beads and stick them with glue
Not only beads, but you can craft in unimaginable ways such as pearls, sparkles, small colorful stones, etc. Hence, use your imagination and showcase it to the world.
Step 4. Now connect wood shape with a base with a feviquick
Well, this is the most crucial part to complete the entire look of a ring. Connect your ring base with a wood shape with the help of a feviquick.
Step 5. Apply varnish to the wooden ring for waterproofing.
Not to forget to waterproof your design with the help of a varnish. Apply in small amounts with the help of a paintbrush. This will give a shimmering look to your wooden ring.
Step 6. Let it dry for 24 hrs.
Let your wooden ring dry in normal temperature for at least 24 hours. Please do not cover it, let it dry as it is.
Step 7. Your wooden ring is ready to flaunt. So Simple!
Your exclusive handmade wooden ring is now ready to use. How exciting was that, Wear and Slay it girl!
How to Make Wooden Rings at Home in 2 brilliant ways
Innovation can transform the world. Do you know there are endless ways to make wooden rings easily available at home?
Those incredible ways are actually the add-ons that you use for decorating and change the entire look of the ring. Let me help you with the list, these are small stones, lace, cloth (Fabric Artwork), Silk thread and sparkles.
Let us not wait for any further and bring your ideas right in front of your eyes. There are 2 brilliant ways to make wooden rings at home which can be accomplished in minutes and they are as follows:
- Stretchable Wooden Rings
- Wooden rings by using Wool work
Make Sassy Style Stretchable Wooden Rings at Home in 5 Minutes
Has this question ever crossed your mind? I understand the word “Stretchable” may sound a bit tricky but you will be surprised to know this novel idea can be accomplished within 5 minutes. Let me show you how I made this funky ring at home, take a quick look and let me know your thoughts?
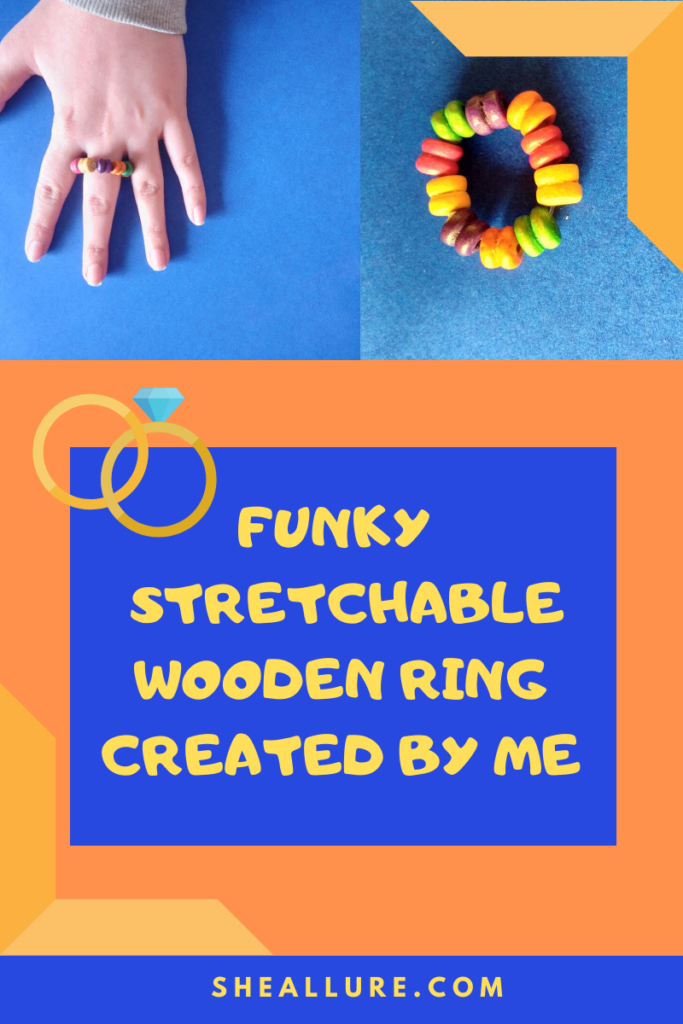
By the way, I conceived this idea of crafting a stretchable ring with the help of small colorful wooden beads. This wonderful idea came to my mind when I created a handmade wooden bracelet and thought of changing shape and make a stretchable beaded ring and surprisingly it took only 5 minutes. Here, you will observe the entire process is the same except the one i.e- Size as per ring. How cool is that?
For making stretchable wooden rings requires only 2 basic things to proceed.
- Stretchable Elastic String
- Small Finished Wood Beads
Now comes the fun part, first take out an elastic stretchable thread and measure the length by your finger. Make sure the measurement is half-inch extra so that your ring is not too loose or tight, that is the correct way of measuring the size of a ring.
Moving forward, put the wooden beads into the string individually till it reaches the end and gives a little space for knotting. Now we have reached the most crucial part and that is Knotting at the end. Ensure that you tye knots at least twice so that it won’t unravel.
Tip: You can hide the clumsy-looking knot by putting it inside the bead with the help of a needle or a toothpick. This will make a perfect wooden ring for yourself. Your funky style stretchable ring is now ready to flaunt.
By the way ladies, this is a perfect idea when you’re prepping up for a party. Go for it and make your exclusive stretchable wooden rings at home in minutes.
Spruce-Up with Glimmering Wooden Rings at Home: Sewing with a Wool
Is it possible to make wooden rings at home with the help of woolwork? Well, My subtle answer to this question is “Yes” you can make amazingly beautiful patterns at home with the help of wool. Just remember “Knitting” so how about adopting this technique for making jewellery items? Right?.
As an individual DIY jewellery artist, I believe we should try to use imagination by focusing on imbibing techniques like stitching, knitting with a ball of wool. Therefore, make the best use of these cost-effective methods. Let us bring out the ideas to live and make fantastic wooden rings at home which are environment-friendly.
The process is the same I have explained above, the only change is the wood shape pattern and the designing phase. Take a wood shape that has 3 to 4 holes on it. In order to make a design proceed with the help of sewing with wool. To make it more clear I am listing out the 5 basic requirements and for making stunning wooden rings at home.
- Ring Base
- Wood Shape
- Needle (With a broader hole for wool)
- Wool
- Glue
- A piece of cloth
As you can see I have not listed paint colors here as I am making a simple yet stylish wooden ring with the help of sewing with wool just like I performed this style of making a wooden pendant in my previous blog. However, If you want to use paint colors, you are free to play with and waterproof them with the help of varnish.
Let us dive into the process and learn to make a wooden ring by using wool. To perform this idea, make sure your wood shapes have holes on to make a design as shown below that will help you give a clarity.
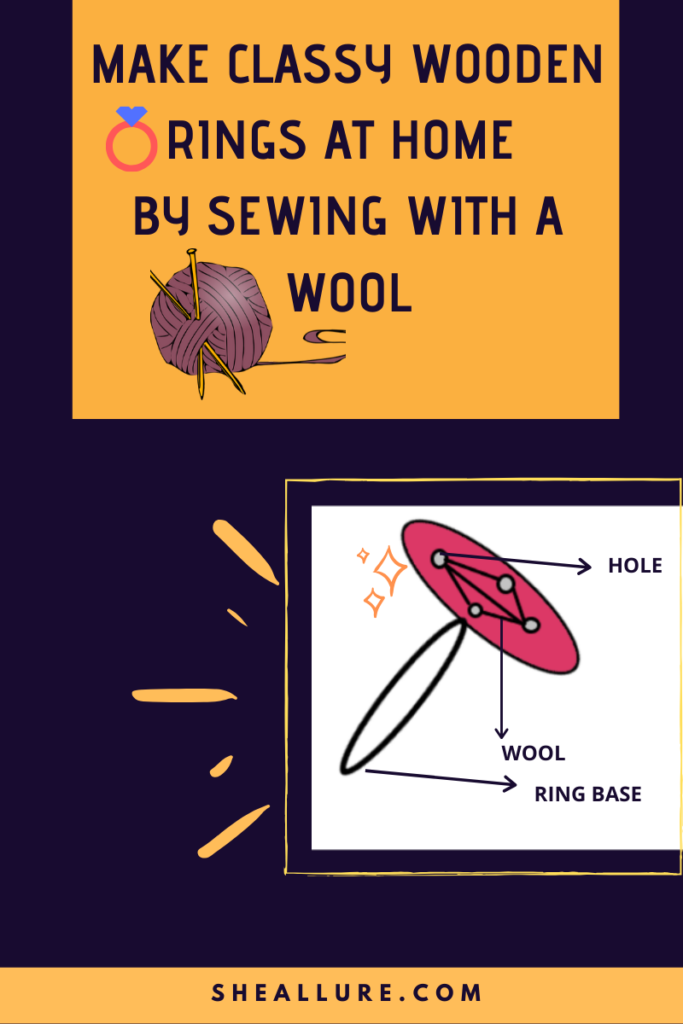
| Step 1. Insert wool into the needle. |
| Step 2. Dig into the holes to make a design. |
| Step 3. Connect wood shape with a ring base. |
| Step 4. Your wooden ring is ready to wear. |
Let me elaborate on the above steps for you:
Step 1. Insert wool into the needle
We will follow the simple sewing process with the help of wool. Make sure your needle is broad and bigger in size.
Step 2. Dig into the holes to make a design
Now the most vital step for making this design is wool work. Sew it across the holes on the wood shape and create an embellishing look you would love to wear.
Step 3. Connect wood shape with a ring base
Apply feviquick to the ring base and connect with a wood shape.
Step 4. Your wooden ring is ready to wear
Gift your dazzling wooden ring exclusively created by you to your loved one that will bring a lovely smile to their faces. Make your people happy.
7 Most Important FAQ’S by First Time DIY Jewellery Artists to Make Wooden Rings at Home
| Q1. How can I get a wooden ring base? |
| Ans. You can either make your ring base with the help of wood cutting method or get it designed from a carpenter.
In case you don’t have a wood ring base I can suggest you buy a silver-plated ring base as a substitute that can easily be purchased from Amazon. |
| Q2. Where can I get those readymade wood shapes for making wooden rings? |
| Ans. It can be purchased from your nearest hobby stores. They are available in endless shapes for making a wooden ring at home. Note that, ring shapes don’t require to be round always, it can be of any shape. |
| Q3. How to hide wool work on the backside of the wooden ring? |
| Ans. Take a cotton cloth, cut into the desired shape and stick them to the back-side with glue. Let it dry and then connect your ring base to the same area, this way you can hide that extra wool work. |
| Q4. How can we perform the Silk Thread Wrap Style method to make wooden rings at home? Have you ever tried? |
| Ans. I haven’t tried but I can surely give you a rough idea. You can buy wooden rings that can easily be ordered from Amazon. Sew it along and make awesome thread wrap patterns. |
| Q5. How do we make holes in wood shapes for making wool work design? |
| Ans. By using a drill you make small holes but make sure you mark the core points with a marker or a pencil beforehand to make your design. That way correct drilling is done. |
| Q6. If not wood, what is the other eco-friendly idea to make rings? |
| Ans. Good question. Well, you can learn the paper quilling method and make rocking paper designs to make wooden rings at home. Try it. |
| Q7. What are the steps to make wooden rings if we have an unfinished piece of wood? |
| Ans. Well, in that case, you need to follow the wood carving and sanding process that I have previously explained in my blog but please be very careful while performing woodcutting so that you don’t harm yourself. Right? Also, if you follow these steps you will end up with designing something that is extraordinary handmade collection which will benefit you a lot in the long-run when you start selling online so go ahead and slay it. |
Learn Super Innovative Ideas to Make Wooden Rings at Home: Decorate and Have Fun
Every DIY Jewellery artist should be acquainted with adding their own gleaming styles in smart and easy ways. Since we have learned the comprehensive steps explained above, let us learn to decorate wood shapes and make it more professional and appealing wooden rings at home. Take a quick look at these items listed below:
- Resin beads
- Small stones
- Pearls
- Acrylic Beads
- Glass Beads
- Fabric (For Fabric Art)
- Fancy Net Colorful Laces
Friends, these are the ideas that will help you make a brand new masterpiece. You can stick them to the wood shapes by using super glue and adorn yourself with glitzy looking designs. You can even sell it online and make decent money with your exquisite handmade collections.
Plan, create, grow like an entrepreneur and inspire your fellow aspiring DIY Jewellery Artists because we rise by lifting others. What say, beautiful ladies? Are you ready to take this plunge? Well, I am sure “Yes” and I look forward to seeing your lovely collections. Let us share the ideas and motivate each other because empowering oneself matters. Thank you.
