How to make a wooden bracelet for men? that is easy for anyone to make in the shortest span of time and perfectly match with any outfit color.
Today, We shall learn one of the easiest ways of devising a simple yet stylish bracelet. Every step is illustrated in a way that understandable for all skill levels and even kids.
Brace yourself as I will share graphical representation as well as step by step instructions you can read and start making with me. Let’s start.
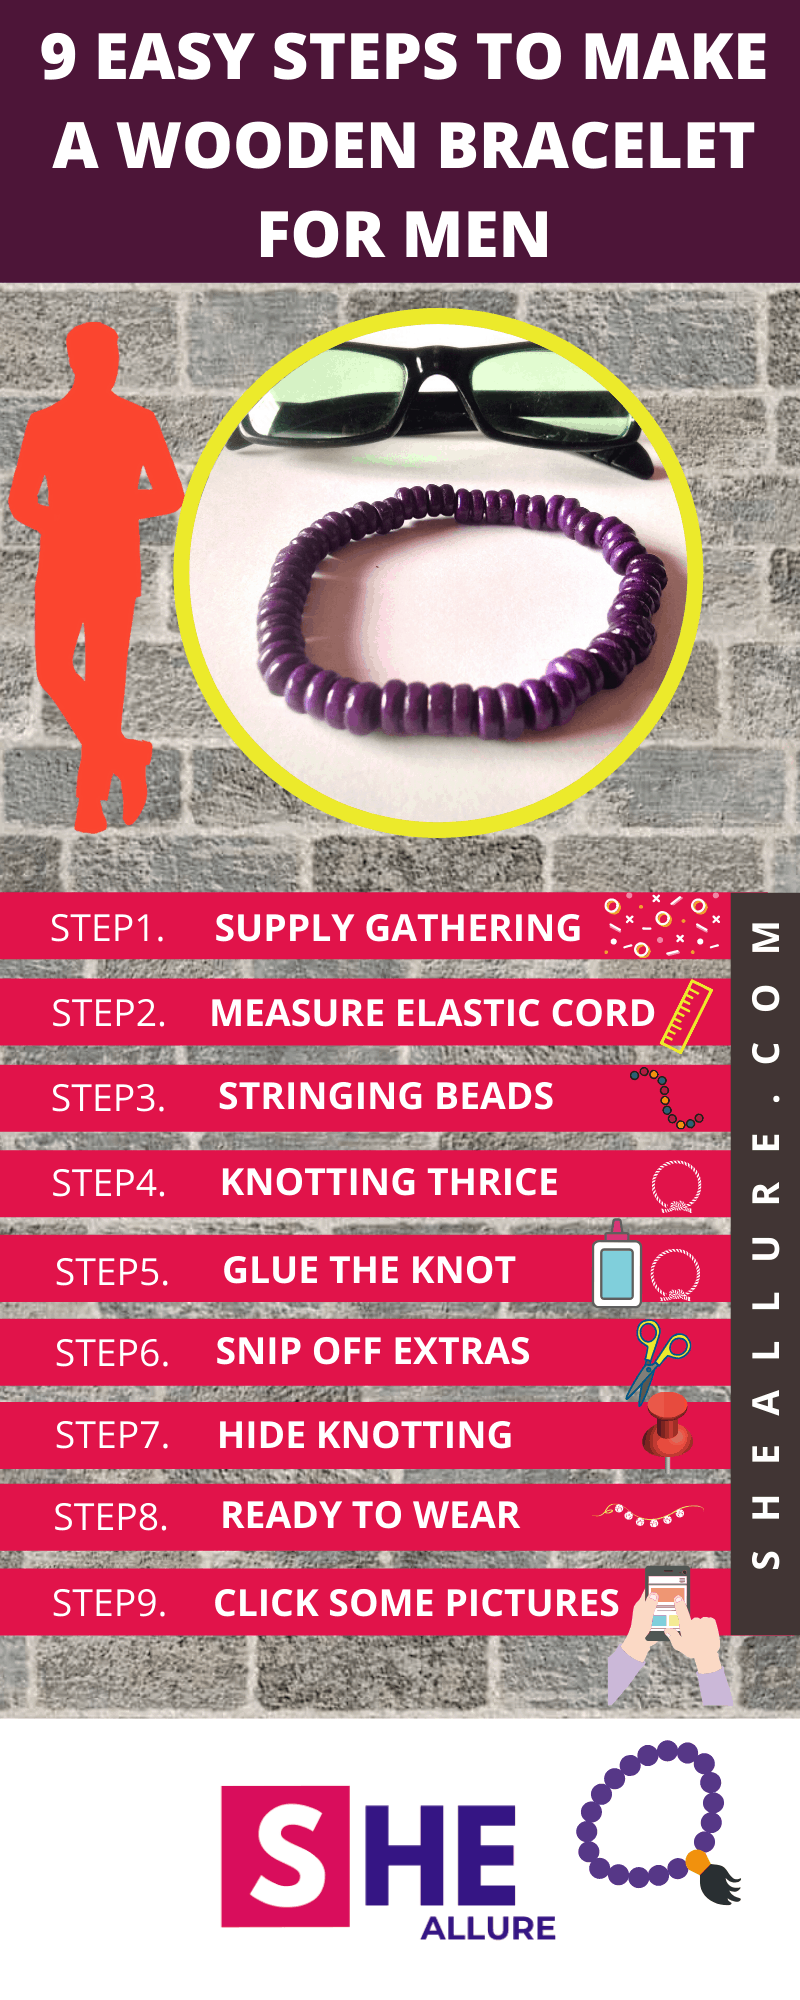
How to Make a Wooden Bracelet for Men? 9 Simple Steps
How to make a wooden bracelet for men? that doesn’t take long to craft for gifting the same day. Well, I have got this covered and you can use your own imagination to create smashing pieces for him.
The first crucial step is to do strenuous research on designs on the latest designs trending in the fashion industry and make your own authentic designs.
| Step1. Supply Gathering |
| Step2. Measure Cord Length |
| Step3. Stringing Wood Beads |
| Step4. Knotting Wooden Bracelet |
| Step5. Glue the Knot |
| Step6. Snip off Extras |
| Step7. Hide Knotting |
| Step8. Men’s Wooden Bracelet is Ready |
| Step9. Showcase Bracelet |
Before we start making wooden braclet, let me share an amazing piece of news by Times of India stating that accessories such as cufflinks, bracelets, brooches, chunky rngs and studs for men are the talks of the town.
Step1. Supply Gathering
So guys, the first crucial step we all must know is to gather all required materials for making a wood beaded men’s bracelet. Let me show you some real graphic representation.
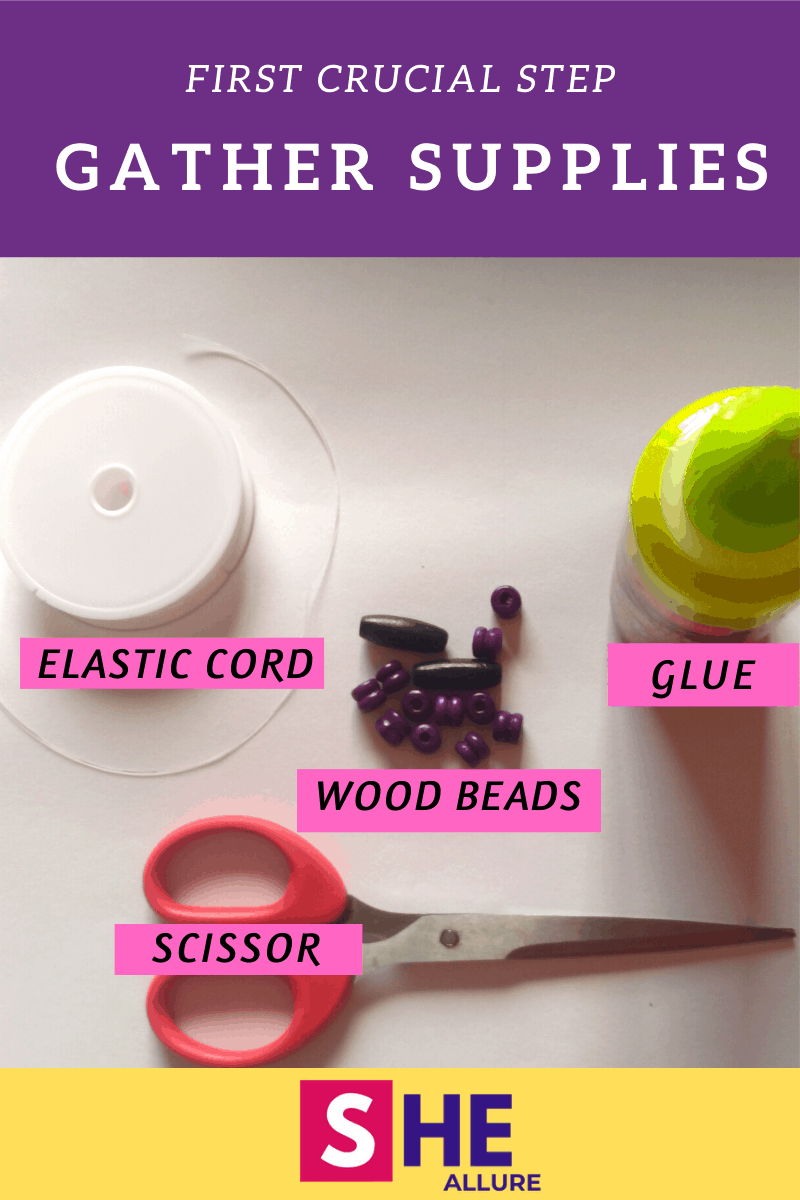
Essential Supplies for Making Wooden Bracelet for Men
- Wood Beads (Small Hole Beads)
- Feviquick/Glue
- Scissor
- Elastic Stretchable Cord
Step2. Measure Cord Length and Stretch a Bit
Take 10-inches elastic stretchable cord and slightly stretch it a bit. Make sure you don’t pull it off too much. It should be moderately pulled in order to perform beading efficiently which I will explain in the later part of this tutorial.
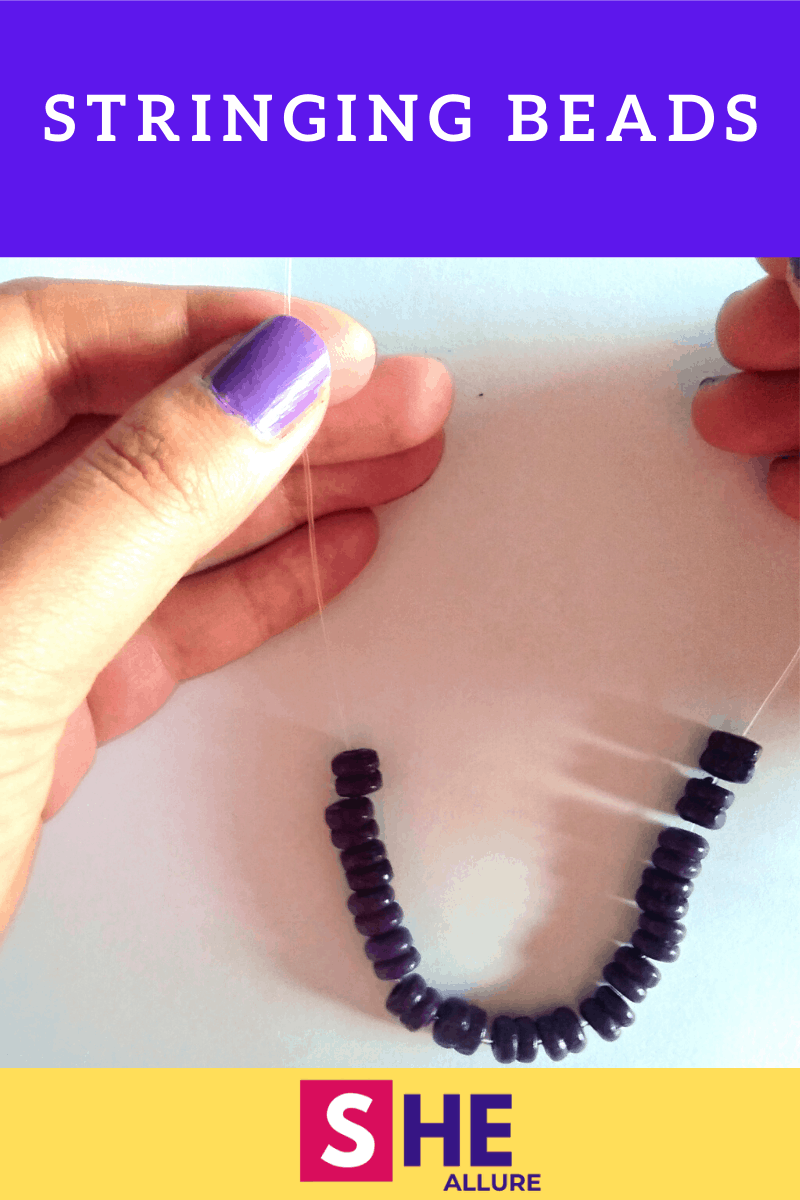
Step3. Stringing Wooden Beads
Now we’ve reached the actual process that is called stringing wooden beads. Start putting wood beads one by one to the cord. To understand better, let me show you with an image. Take a peek and try yourself. It’s not at all difficult.
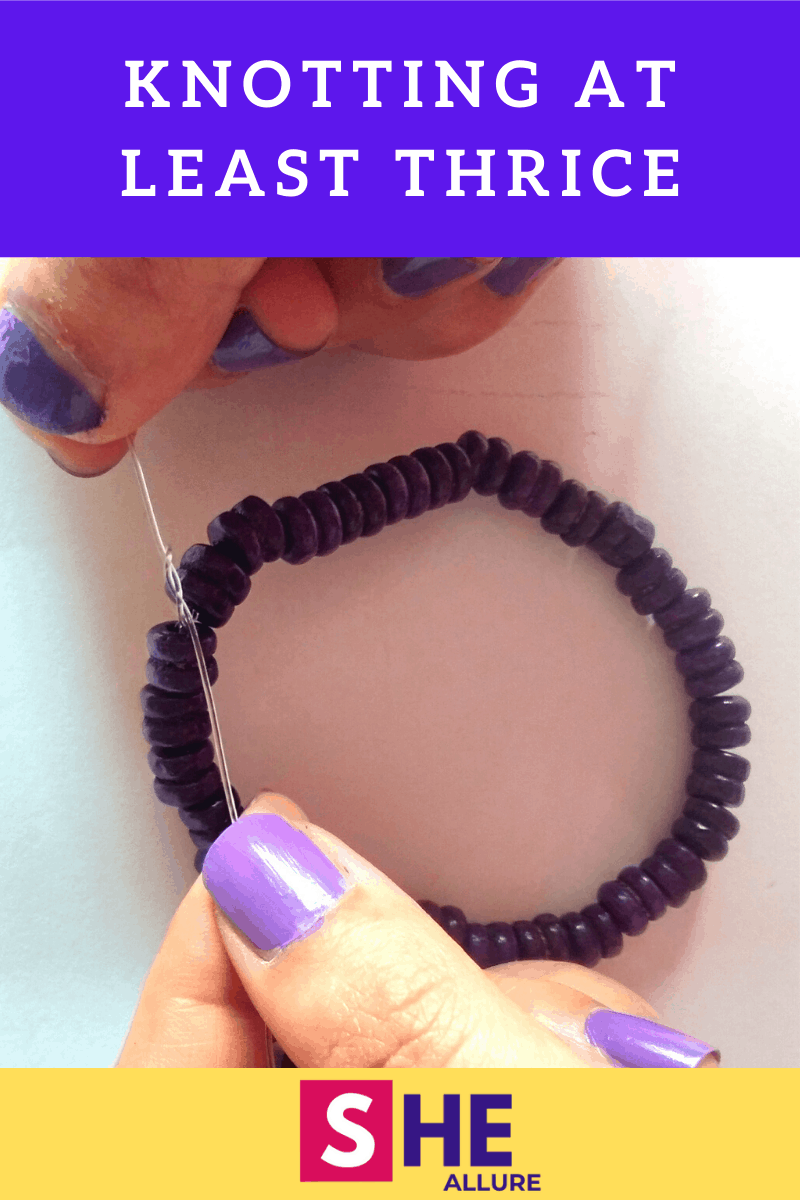
Step4. Knotting at the end
Bracelet won’t be complete without knotting at the end. Wrap cords at least four times as shown below then tie knot at least thrice. Repeat this step one more time and make at least three knots.
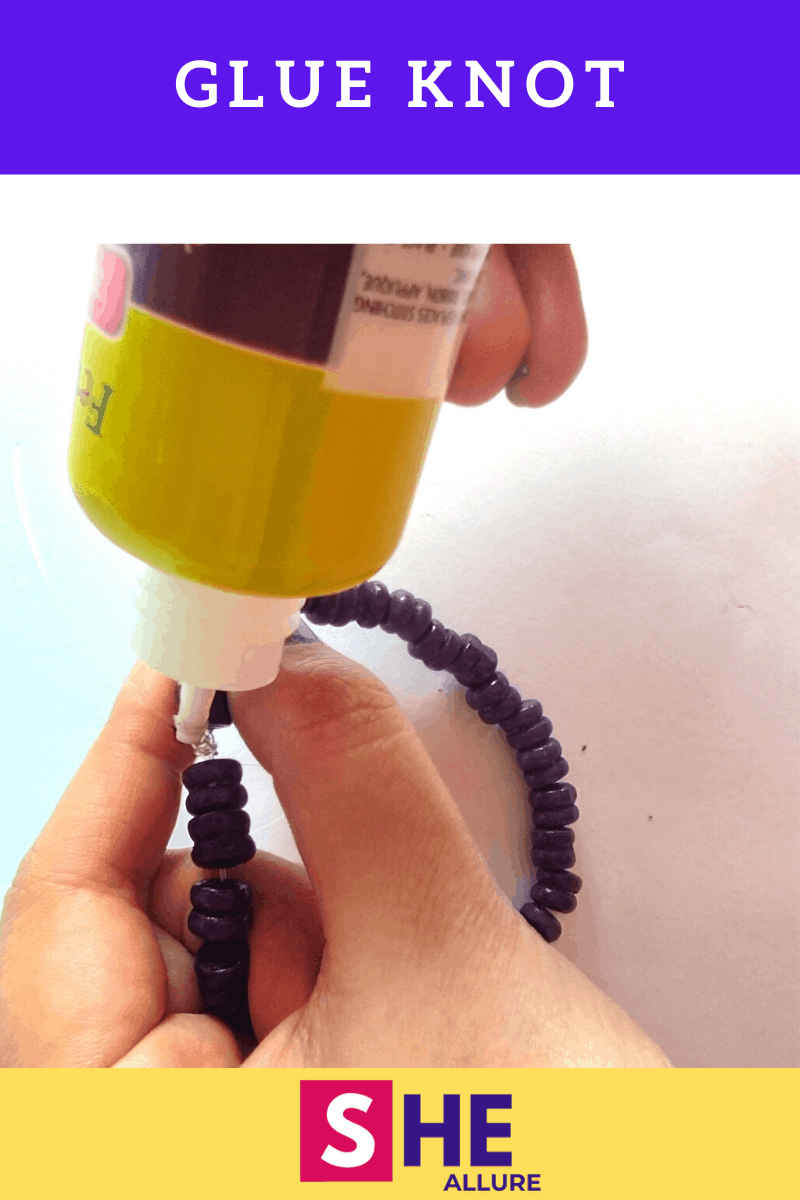
Step5. Glue the Knotting Part
Drop off the pinch of glue to the knot part to fix the position as per the image below to get more clarity.
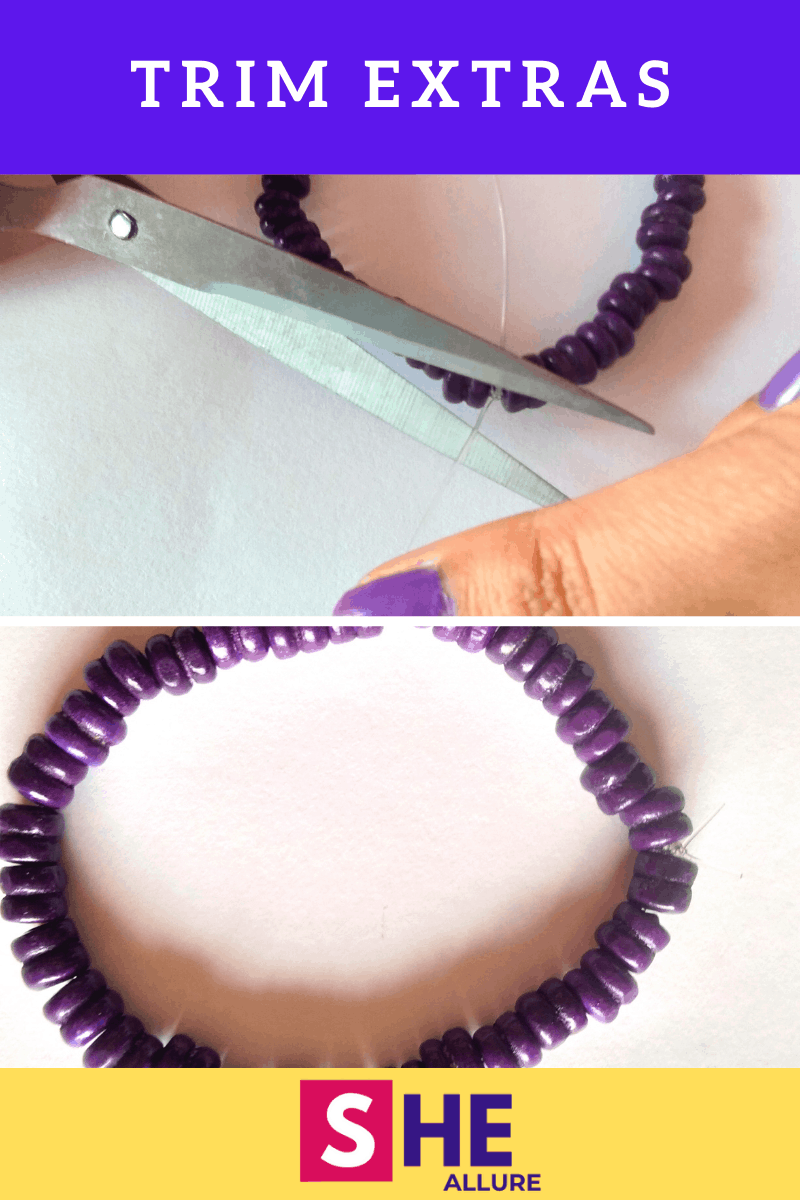
Step6. Snip off Extras
After performing the knotting part you will observe extra cords. Take a scissor and snip off extra cords coming out.
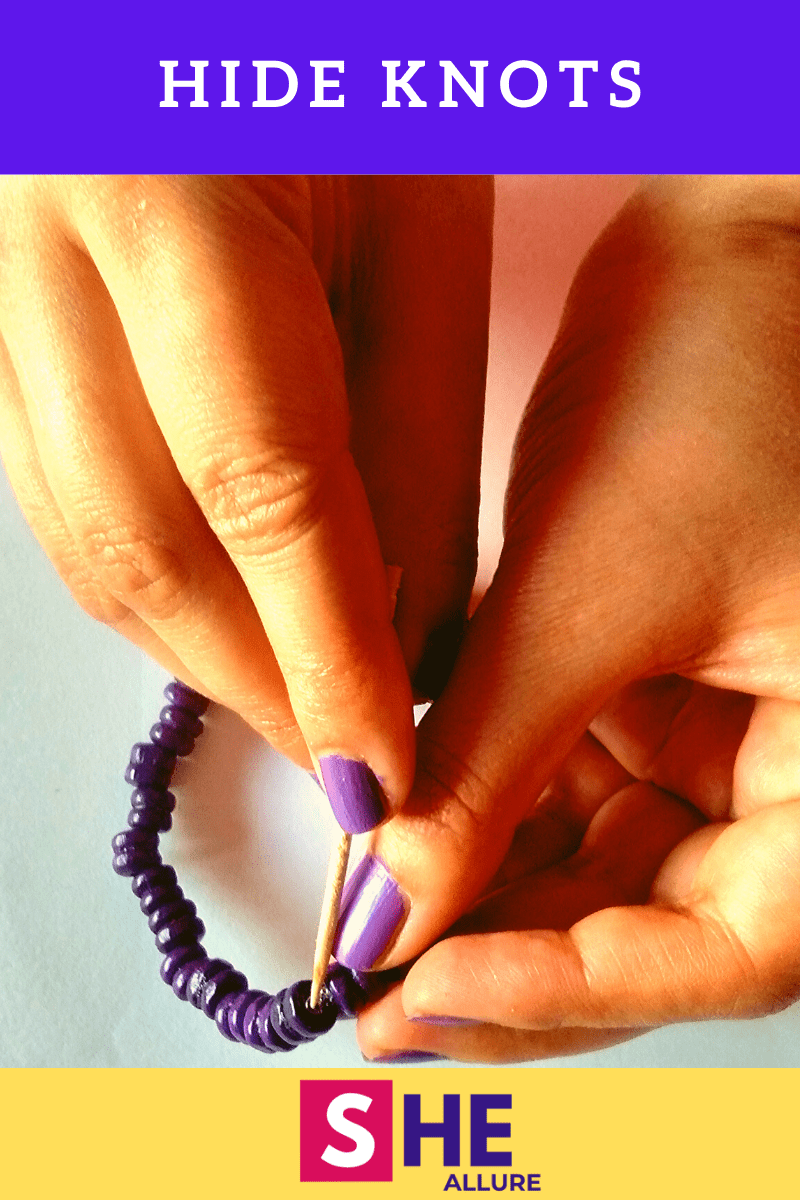
Step7. Hide Knotting
Post knotting, it’s paramount for every DIY jewellery artist to hide the visible knotting part. This can be performed with the help of a skewer/needle or a toothpick to push inside the bead. That way, knotting won’t be visible and your bracelet will give a perfect finished look.
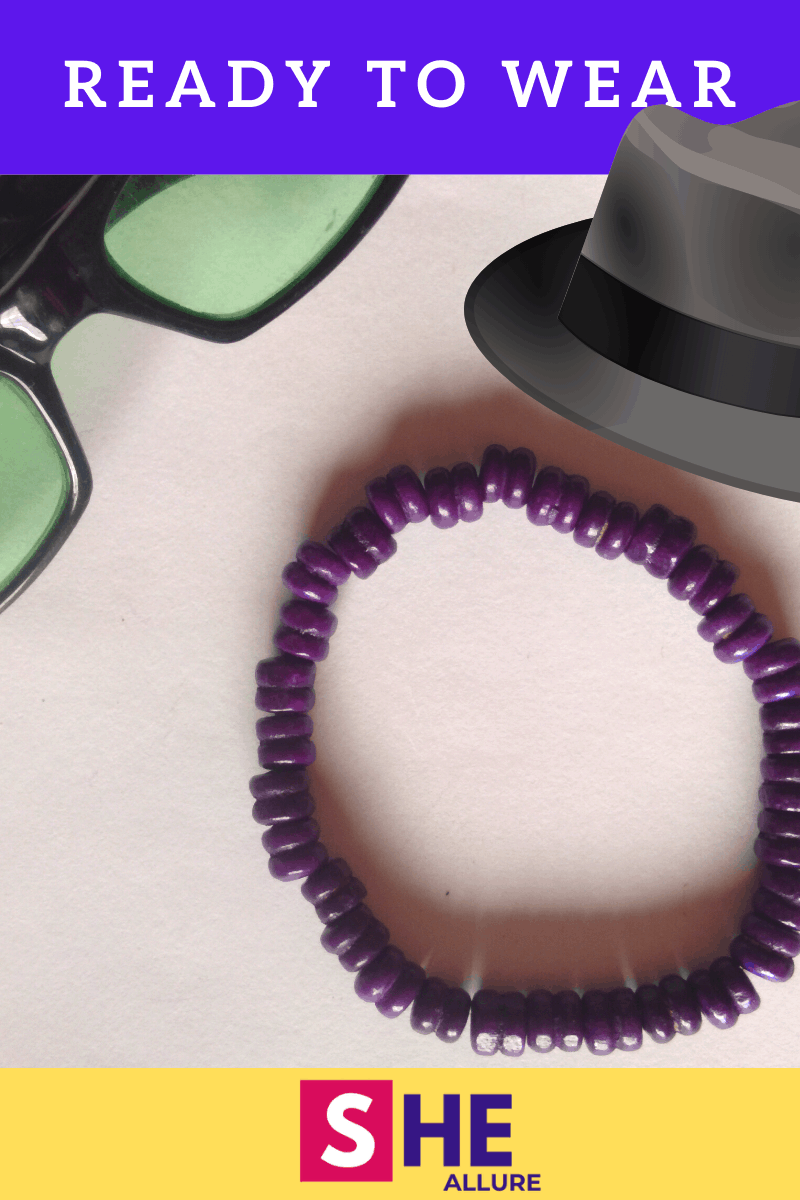
Step8. Bracelet is Ready to Wear
Accessorize and slay it with a fabulous handmade men’s wooden bracelet. Awesome!
Step9. Showcase Wooden Bracelet
This is the most fun as you will showcase your bracelet by doing some photography. You don’t have to buy a professional camera, just a smartphone, a chart paper, a tripod for a perfect position to click pictures and lastly decorate with flowers, plants and stones.
How to Waterproof Men’s Wooden Bracelet?
Suppose you have wood beads that are unfinished wood, all you need is to sand wood and convert it to finished wood beads using a dremel machine. The next step is to paint beads using acrylic colors.
Waterproofing is an essential part to seal your paint and it gives a glossy look to your wood beads. The process is very simple. You need a skewer or toothpick, wood beads, thin paintbrush, varnish, a damp cloth, and turpentine oil.
Take a long skewer and insert beads one by one to avoid your fingers in contact with varnish. Apply varnish on wood beads in small amounts and let it dry for at let the varnish dry for at least 24 hours. See the glossy effect of your bracelet the next morning. You’ll love it.
Important Note: Varnish hardens the paintbrush hence, I would highly recommend you use turpentine oil and wipe paintbrush using a damp cloth. This will prevent your paintbrush from getting hardened.
Add Embellishments to Enhance the look of Bracelet
If you want to enhance the look of your wooden bracelet. You can create a perfect blend of wood beads, glass beads and acrylic beads that looks superb in any outfit.
Thus, making a colorful beaded bracelet is quite an imaginative idea for crafting. Try this out and do share it with me. I would love to see your talent.
By the way, If you are keen to learn how to make wooden necklace for men, I have covered up a detailed step guide for beginners on my recently published blog.
Must-Read Faqs for Bracelet Makers
To all beginner jewellery artisans, I have elucidated some faqs designed for you that will help to get more clarity on crafting men’s wooden beaded bracelet. In case you still have any doubts, feel free to drop your comments. I’ll be happy to answer them all.
| Q1. Is it easy to make wood beads at home? |
| Ans. No, it isn’t as you need to be super alert while performing wood cutting process. Using a dremel requires a lot of attention because the beads are small in size. Hence, I would recommend you all if you have thin wood sticks leftover available with you. Get it done from your carpenter. Even if you get the unfinished wood beads you can sand wood using a dremel to give them w fine finished look.
Alternatively, beginners can buy readymade wood beads from the local market or directly purchasing from the Amazon store. |
| Q2. Suggest some ideas to make a wooden bracelet for men. |
| Ans. Stacked Bracelets for Men are pretty popular. You can use a great combination of wood bracelet and stack them up gives a perfect style statement. |
| Q3. How can we buy jewellery supply altogether? |
| Ans. You can get all in one jewelry kit from the local market or from the credible online source Amazon. |
| Q4. What are the reasons to make a bracelet using wood beads? |
| Ans. Wood is an amazing raw material that is environment-friendly, light-weighted, trendy and one of the cost effective business ideas for entrepreneurs. |
| Q5. How to convert unfinished to finished wood? |
| Ans. There are two amazing techniques behind this art which is called “Sanding”. Sanding is the process of removing uneven scratches and rough surfaces so, in order to sand wood, all you need is top-notch quality sandpaper and use a dremel machine to accomplish this task.
Another alternative step is by rubbing wood beads on sandpaper but that will be tiresome and time-consuming. If you don’t have a dremel, get it done from a carpenter. |
| Q6. What is the importance of using feviquick/glue in knotting? |
| Ans. Knotting is one of the crucial parts as it completes the entire procedure for making a wood bead necklace. Post knotting, a drop of feviquick is required so that it won’t unravel and fix it permanently. |
| Q7. How can we get a Dremal machine? Is it costly? |
| Ans. It depends on the type and number of features. It is not that costly but make sure you purchase top-notch quality Dremel.
By the way, Dremel Machine can easily be purchased from the local market and alternatively from the Amazon Store. They produce great results and the most preferred technique for making wooden jewellery at home. |
Friends, I hope this tutorial has helped you get the clarity on “How to make a wooden bracelet for men?”. I have elucidated every step with pictures. Do try at home, it’s very easy.
Feel free to share your crafts, ideas, comments or suggestions with me. I would love to see them. Let’s inspire each other. Thank you. Happy Crafting.
