Wooden jewellery making supplies are essential for an individual who is beginning to make handmade wooden jewellery. As a DIY jewellery artist, I always make sure that I have my supplies ready before starting a new project.
Before we start learning a complete list of wooden jewelry making supplies, it needs to be clear whether you want to implement the detailed woodcutting process or prefer readymade wood shapes. Right?
Let us proceed further and understand the intricacies of wooden jewelry making supplies for entrepreneurs willing to commence their own startup online venture and want to grow as successful leaders.
Wooden Jewelry Making Supplies: A Foundation for First Time DIY Jewelry Artists
Crafting wooden jewelry is one of the most popular and trending artistry in the fashion and accessories industry as they are environment-friendly, economical and best for aspiring entrepreneurs.
To all DIY wooden jewelry artists, I am going to share a complete list of supplies that involves crafting wooden jewelry from the scratch i.e wood cutting, carving, sanding to polishing.
Before we begin gathering supplies, let us recollect the pre-methodology steps that every DIY jewelry artist must be acquainted with 5 vital points I have explained in my previous blog i.e ideate, forge, design, polish, and showcase. Reason being is to have a clear idea of whether you wish to adapt an easy method that involves readymade wood shapes or you will devote your time in designing your exclusive wood shapes.
In my opinion, if we want to grow as entrepreneurs, ideally we should learn to craft our own original designs that will surely help us in the long-run for business purposes.
Precisely, I will share a comprehensive list of supplies for making wooden jewelry at home. Let us delve deep and be ready with basic requirements for making any kind of jewelry.
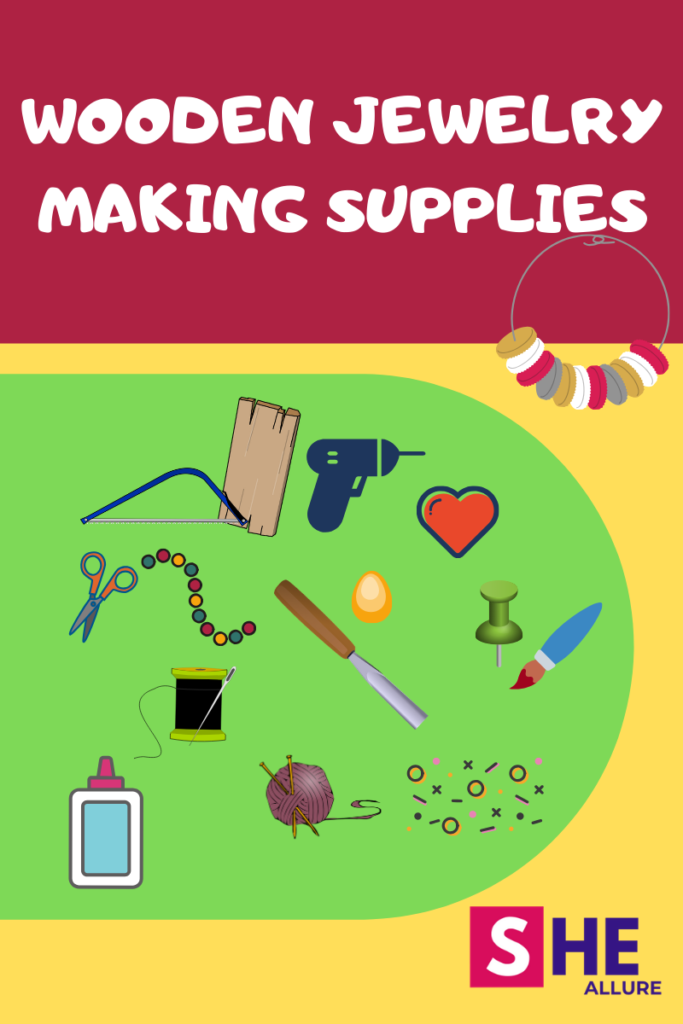
23 Must-Have Wooden Jewelry Making Supplies | A Complete List
I have produced a detailed list of supplies highlighting tools that cover the entire process such as woodcutting, carving and sanding for making wooden jewelry.
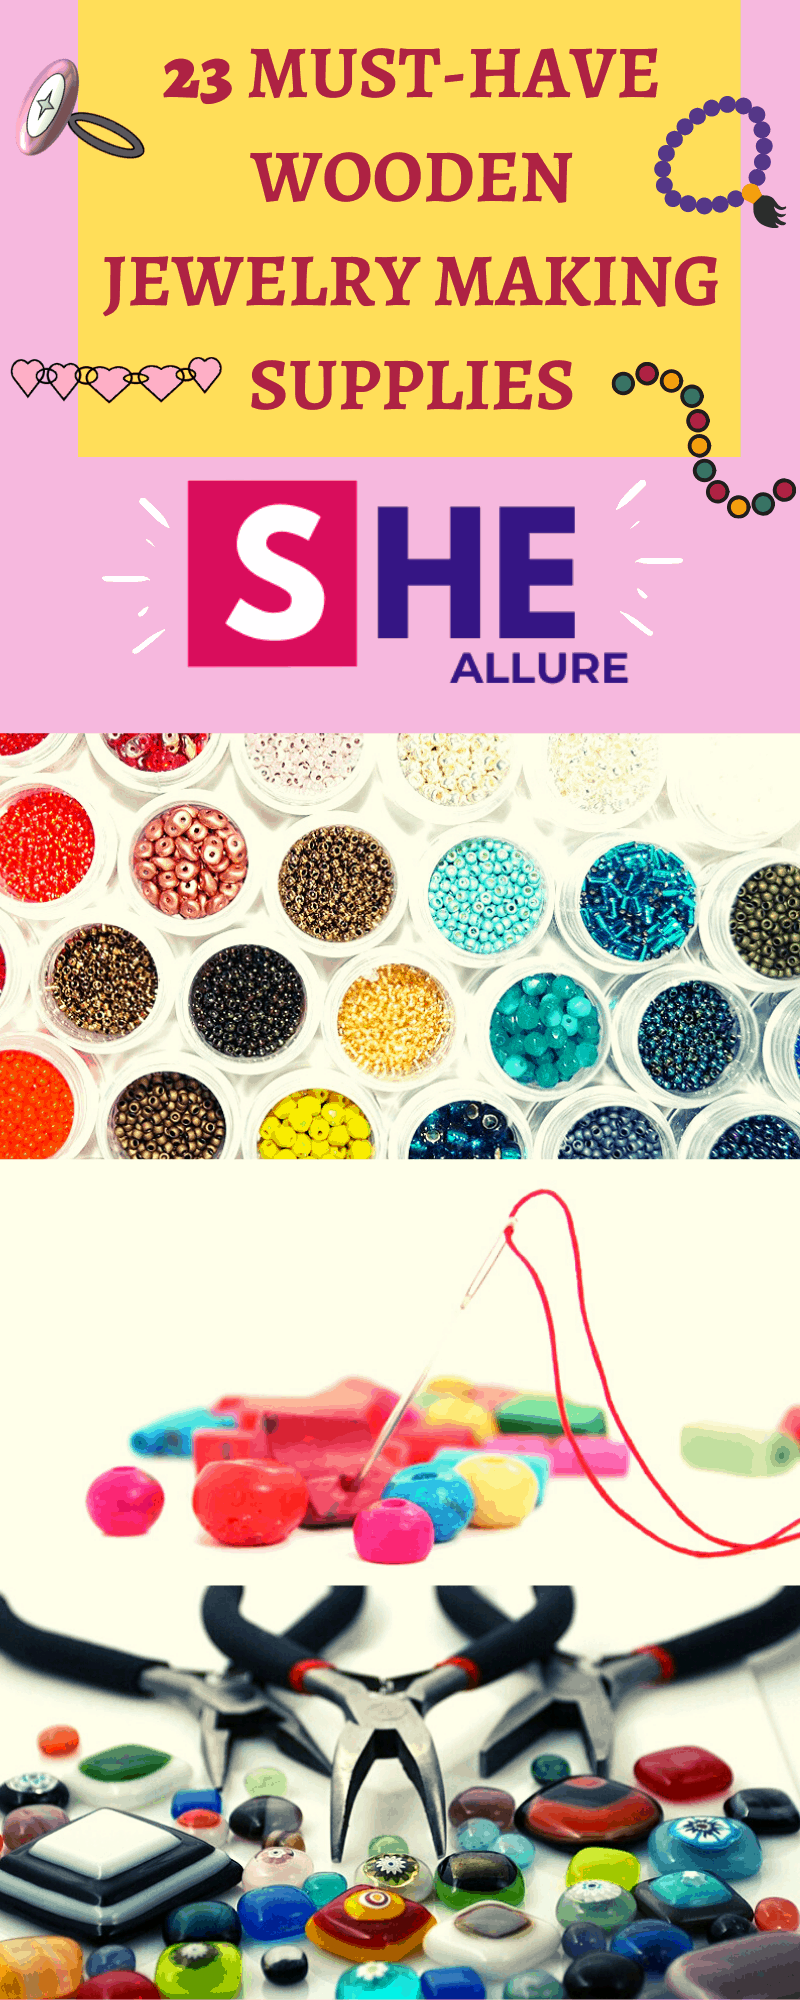
23 Must-Have Wooden Jewelry Making Supplies
| 1. Wood |
| 2. Chisel |
| 3. Hacksaw |
| 4. Sandpaper |
| 5. Drill Machine |
| 6. Elastic Thread |
| 7. Nylon Thread |
| 8. Silk Thread |
| 9. Paper and Pencil |
| 10. Paint Brush |
| 11. Wooden Beads |
| 12. Gold/Silver Chains |
| 13. Jump Rings |
| 14. Eye pins |
| 15. Needle |
| 16. Acrylic Paint |
| 17. 3D Emboss paint |
| 18. Pliers |
| 19. Scissors |
| 20. Ruler |
| 21. Hook Connectors |
| 22. Varnish |
| 23. Lobster or Spring Clasp |
Now I will give a meticulous step guide to understand the significance of every supply listed above and its usage for making handmade glimmering wooden jewelry.
1.Wood as Raw Material
It is advisable for a professional DIY wooden jewelry artist to learn from scratch else you can use reused wooden blocks. I am talking about the woodworking process which is irksome for beginners. You can skip out this step and get it done from a carpenter, Alternatively, I can suggest you laser cutting technology that produces fancy wood shapes for making wooden jewelry at home. This is very costly but highly recommended for professionals.
Furthermore, I can suggest you a popular and preferred device which is less costly for DIY jewelry designers is using a multifunctional Dremal Machine which saves time and gives you great outcomes compared to manual tools.
2. Chisel
A chisel is a tool easily available in the local market and at home used for wood carving. Wood carving done manually is fun. You can make as many designs as you like such as flowers, leaf, butterfly, teddy bear, smiley and also engraving a monogram on wood to give a personal touch. By the way, I have explained in my recent blog whole-heartedly and I hope you will find it helpful.
Moving on, just to give a brief overview, the Chisel tool is scrapped slowly on the wood preferably lighter and soft material to carve out stunning designs. Practice makes us perfect. You will master this craft by doing a thorough practice. Try it once you will become confident and that is our end goal is to make a professional masterpiece that can be commercialized.
3. Hacksaw
Hacksaw is used for wood cutting and should be done super cautiously so as to not harm yourself. Let me share three alternatives of wood cutting technique at home-
- Laser Cutting Technology
- Dremal
- Get it done by a carpenter
4. Sandpaper
Sanding is the most crucial step to remove unwanted edges and scratches of unfinished wood. This is done by rubbing until you see the blemishes are not visible, it will smoothen off the wood shape and convert it into finished wood.
If you are using a dremal, this can be efficiently done in the shortest span of time as you will get a separate accessory for smoothening off the wood surfaces. I would recommend this tool that saves time. Go for it.
5. Drill Machine
Drill machine is the basic supply every DIY jewelry professional must-have for drilling holes on the wood shapes and makes authentic designs such as pendants, anklets, etc.
6. Elastic Thread
Elastic thread is used for making stretchable wooden bracelets and even rings at home. This should be on your bucket list and easily available in the market.
7. Nylon Thread
A Must-have supply used for making pendants, necklaces, and anklets. It is thicker as compared to cotton threads hence preferable for making jewelry at home.
8. Silk Thread
Silk thread can be used for many purposes i.e Threadwork on rings, pendant, anklets, and earrings. It can also be used for making silk thread wooden earrings and danglers.
9. Paper and Pencil
You will need both materials for outlining a shape on the wood and for designing purposes.
10. Paint Brush
For crafting wooden jewelry it makes sure you have a fine quality paintbrush of all sizes for painting shapes and outlining purposes.
11. Wooden Beads
Adding Wooden beads is crucial to enhance the look of your wooden jewelry. These are available in small and bigger sizes in the local market and online.
12. Gold/Silver Chains
Gold/Silver chains are used for making wooden necklaces and pendants and give an elegant party look. If you are crafting shimmering wooden jewelry that is stylish, fashionable and glamorous, chains are the must-have supplies to your jewelry kit.
13. Jump Rings
Jump rings differ in size based on usage. They are used for connecting wood shapes with a thread for making simple pendants as well as for other types of jewelry which I have graphically explained earlier. Jump ring will allow your thread to stay in a fixed position.
14. Eye Pins
They are used for making wire loop jewelry making such as dangler earrings and otherwise. These are used for bending shapes with the help of nose pliers for making wire loops.
15. Needle
I would recommend using a bigger size needle for making thread work and wool work designs on wooden shapes. You can use to for stringing wooden beads for making necklaces, pendants, and bracelets.
16. Acrylic Paints
Fevicryl Acrylic paint colors are advisable for DIY jewelry professionals as they are of fine quality and gives a long-lasting finish to your wooden jewelry.
17. 3D Emboss Paint
3D emboss paint colors are recommended for giving a magnificent embossing effect to your jewelry. It’s a must-have for your jewelry making kit. You can craft beautiful designs with the help of a 3D emboss art.
18. Nose Pliers
Nose Pliers is an essential tool to open and close jump rings, cutting thin wires or strings for making jewelry at home.
19. Scissors
You can use normal scissors easily available at home but if you are making something innovative can go for the professional scissor.
20. Ruler
As we have learned, the first step for making wooden jewelry is measuring thread with the help of a ruler so that your jewelry is moderately fit for the wearer (neither too loose or tight).
21. Hook Connectors
Hook connectors is an important wooden jewelry supply for locking purpose. It is “S” shaped and connected at the end. By the way, I have graphically explained it’s significance in my recent blog you will find it useful.
22. Varnish
So far we have learned the most important step for making wooden jewelry is waterproofing with the help of a varnish. The varnish is applied gently in small amounts with the help of a think paintbrush. It will take at least 24 hours for wooden jewelry to dry but gives an awesome glossy finish to your jewelry. Never miss waterproofing.
23. Spring Clasp
The safest type of slider clasp. You can prefer a lobster or spring clasp. Spring clasp is a form of hook connector used to lock your wooden jewelry. I would say it is a better tool and easy to operate than usual hook connectors.
Dremal is the Most Popular Tool Owned by DIY Jewelry Designers
Dremal machine is a favorite tool substantially preferred by DIY jewelry artists that makes futuristic designs because of it’s multifunctionality such as woodcutting, carving, grinding, sharpening, sanding, and cleaning. The best part about this amazing tool it is time-saving and produces the best outcomes compared to manual tools. However, you can also go for the manual procedure as they are cost-effective and are easily available at home.
Therefore, due to its interchangeable accessories and multifunctional features, it makes the whole process simpler and faster.
Top 8 Essential Enhancers for Making Wooden Jewelry
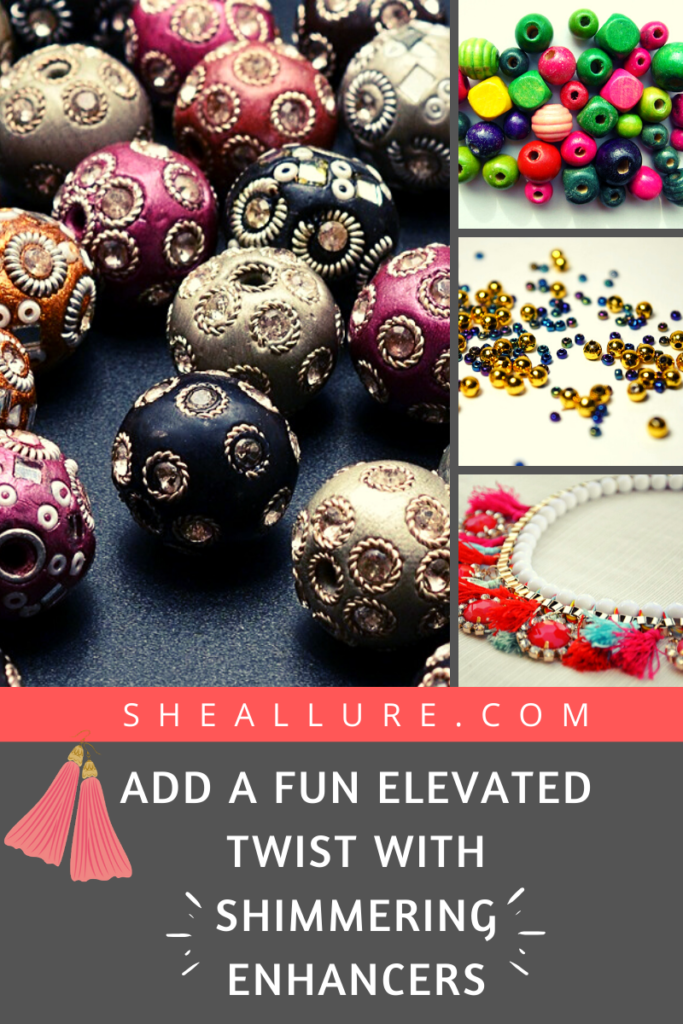
Let us gather some add-on materials referred to as enhancers in my words that complete your jewelry kit and make your wooden jewelry appealing.
| 1. Fabric Cloth (For Fabric Paint Art) |
| 2. Crystal Beads |
| 3. Glass Beads |
| 4. Pearls |
| 5. Resin Beads |
| 6. Acrylic Beads |
| 7. Tassels |
| 8. Pom Pom Beads |
Fabric paint art gives an ethnic look to your jewelry. You can forge your own traditional designs on a cloth with the help of fabric colors and stick them to the wood shape. By the way, I have elucidated this procedure in my recent blog that will help you bring some more ideas. Moving on, Pom pom beads has gained a lot of popularity in the fashion industry these days, make the best use of it.
7 Most Valuable FAQs Asked By Beginner DIY Jewelry Artists
| Q1. What are some manual tools required of wood cutting for making wooden jewelry? |
| Ans. If you are looking for a manual wood cutting procedure there are 4 tools – Chisel, hacksaw, Drill, and Knife. You can go through my recently published blog to have a clear idea about woodcutting process. |
| Q2. Where can you buy a ring base for making wooden rings? |
| Ans. The ring base is silver or gold plated can be purchased from the local craft store or online from the Amazon Store.
If you want to learn how to make wooden rings at home with readymade supplies can go through my blog. |
| Q3. How can we perform sand wood manually? |
| Ans. Sanding is an important step to smoothen off the unfinished wood shape which can be done by rubbing through fine quality sandpaper. You can get it from the local market or online from the Amazon store. |
| Q4. Where can we buy readymade wooden shapes supplies? |
| Ans. Readymade wooden shapes can be purchased easily from your nearest hobby craft store or online from an Amazon store. |
| Q5. Can we buy a beading supplies kit for making wooden jewelry? |
| Ans. Yes, you can get all in one jewelry kit from the local market or from the credible online source Amazon.
For your information, Pom Pom beads are highly recommended for DIY jewelry designers due to high demand which can easily purchased at the craft stores or from the Amazon portal. They are cheaper and make your jewelry look more pleasing. |
| Q6. What is the purpose of making Fabric cloth for making wooden jewelry? |
| Ans. Have you heard about fabric paint art? It is very simple, take a piece of cloth and cut it into the desired shape. Make an outline sketch design with a pencil and color it over the cloth. Let it dry for some time. Now stick fabric cloth to the wood shape with the help of glue. |
| Q7. What kind of wood should we prefer for making jewelry? |
| Ans. Balsa wood is advisable as it is light-weighted and soft for making wooden jewelry and comfortable for the wearer. |
Friends, I hope that after reading my elaborated blog you got the clarity of wooden jewelry making supplies. I have focused on sharing the complete list that covers the entire procedure from scratch. At first, this may be slightly difficult but once you try and practice you will master this craft. After all the path of success lies with crafting your own innovative designs.
Plan, innovate and make your own authentic designer collections at home that are eccentric and environment-friendly. Moreover, I encourage all aspiring entrepreneurs to devise their own handmade jewelry designs and build your startup online brand. Let us pledge to take up tough challenges and inspire each other because we rise by lifting others.
Thank you for reading my blog. Do share your comments, suggestions and your lovely collections with me.
