Crafting Homemade Wooden Jewellery Ornaments for Christmas in advance in 2020 is more thrilling for jewellery designers. Let us unleash the latest trends and create amazingly stunning ornaments at home.
Whether it is a festive season or not, every DIY professional jewellery artist must do strenuous research on the trends in order to grow as successful entrepreneurs.
Today, we shall learn the most helpful techniques as well as a detailed guide to make eco-friendly jewellery at home. Keeping the trends in mind, let us learn and create lustrous ornaments to create a buzz everywhere.
Homemade Wooden Jewellery Ornaments for Christmas: 2020 Buzziest Trends that will Delight
Christmas arrives every year-end in December and celebrated across the world. Therefore, Besides gifting readymade gifts let us delve deep to understand the latest trends together and make an astonishingly beautiful handcrafted wooden jewellery at home.
Before we proceed further, I have discovered five latest jewellery ornaments for my fellow jewellery designers that will surely be going to help them grow as entrepreneurs. What are they? Take a look.
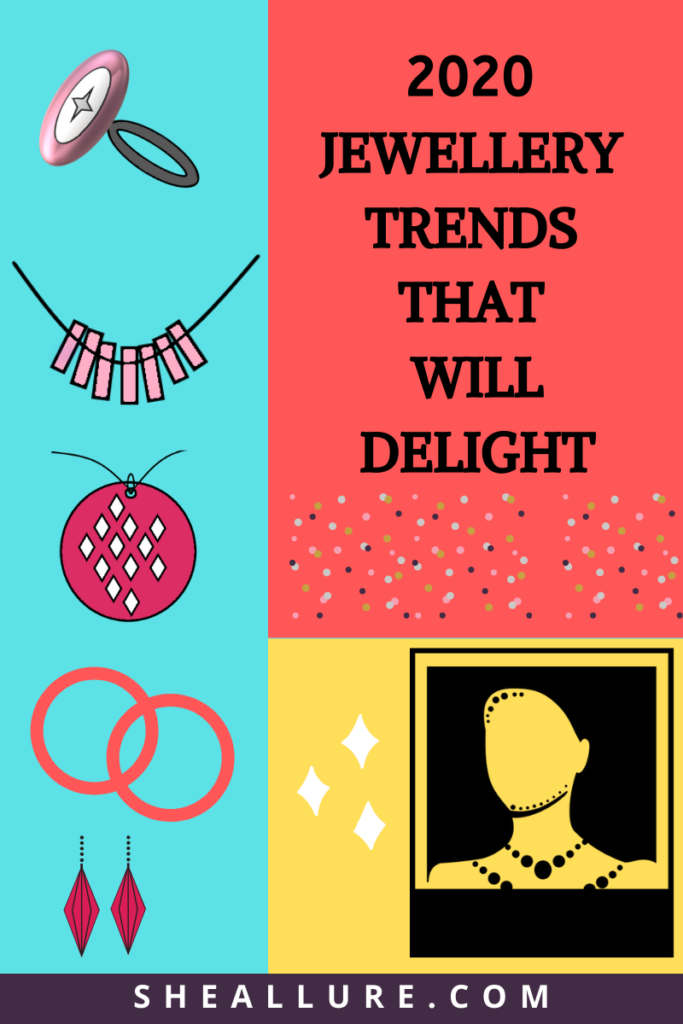
| 1. Mix and Match Rings |
| 2. Choker Chain Necklace |
| 3. Pendants |
| 4. Hoop Earrings |
| 5. Danglers |
So the next question arises how do we make it more authentic ornaments that are simple, stylish, classy. less costly and work for all occasions? Well, my subtle answer to this question is Yes, this can be accomplished by making eco-friendly and economical jewellery with a wood. Reason being, wood is light-weighted and has a special property that it can be repolished while other materials fade away.
Now, we are aware of the latest trends for this year let us think, plan, use our imaginations and create aesthetically beautiful homemade ornaments that last forever. Note that we are not emphasizing only on Christmas we are devising some new ways that will do wonders for all occasions.
- Mix and Match Rings
Mix and match rings are in the offings. It means playing with all kinds of rings by mix and match. Sounds really cool! The best part about these trends is you don’t have to think much just stack them together and wear the combination on your fingers. It can give you such a unique look. Right?
If you want to learn how to make wooden rings at home can go through my detailed blog.
2. Choker Chain Necklace
Chain Necklace will be seen everywhere in 2020 so make the best the use of it by having chain like wooden shapes and make lovely choker chain necklaces that look super cool with your outfits.
To elaborate further, let me share a mini tutorial with you. As I have mentioned above, you need to bring some chains like wooden shapes that can be accomplished in three ways. One is wood cutting process, buy readymade wood shapes online or from the local market or get it designed from a carpenter in case you aren’t comfortable in cutting wood. The next step is to drill hole on the wood shapes for stringing, take jump rings, slightly bigger in size and connect wooden shapes to make a necklace. At last use hook connectors to lock your jewellery.
3. Pendants
Wooden Pendants are evergreen for women. For all professional artists, they are pretty easy to make wooden pendants at home in different designs. If you have to want to learn how to make wooden pendants at home can read my elaborated blog.
4. Hoop Earrings
Hoop earrings are timeless and trending in the fashion and accessories industry. Hoop loops match with your western as well as ethnic outfits. By the way, I have written a mini-tutorial in my recently published blog that will be very helpful for beginners.
5. Danglers
Wooden Danglers are amongst the hottest earrings in 2020 that incredibly accentuate your look. You can wear it with any outfit and they are super easy to craft at home.
Homemade Wooden Jewellery Ornaments for Christmas: Comprehensive Guide For Beginners
As a DIY Jewellery Designer, I believe in basic methodology steps that are super important for me as well for all professional artists. Let us recollect what we have learned and understand the process of starting homemade wooden jewellery ornaments for Christmas as well as for other occasions and they are Ideating, Forging, Designing, Polishing and Showcasing which can be learned in detail through my previous blog.
Moving on, I am going to share the three most helpful techniques you can choose to make handcrafted wooden jewellery. Take a look.
Homemade Wooden Jewellery Ornaments for Christmas: 3 Most Helpful Techniques
Once you got the clarity on the above process, let us proceed further and chose a feasible method to make homemade wooden jewellery ornaments for Christmas, birthdays, anniversaries also other special occasions.
There are two ways to begin, one way is to start from scratch i.e woodworking which can be irksome for beginner artists and another easy way is to get readymade wood shapes from the hobby craft store or online. Also, you can even get your desired wood shapes from a carpenter in case you don’t wish to perform the wood cutting process.
Friends, I have created a graphic that signifies the whole process of choosing a method as well as steps for making handcrafted wooden jewellery. Take a quick look and make up your mind.
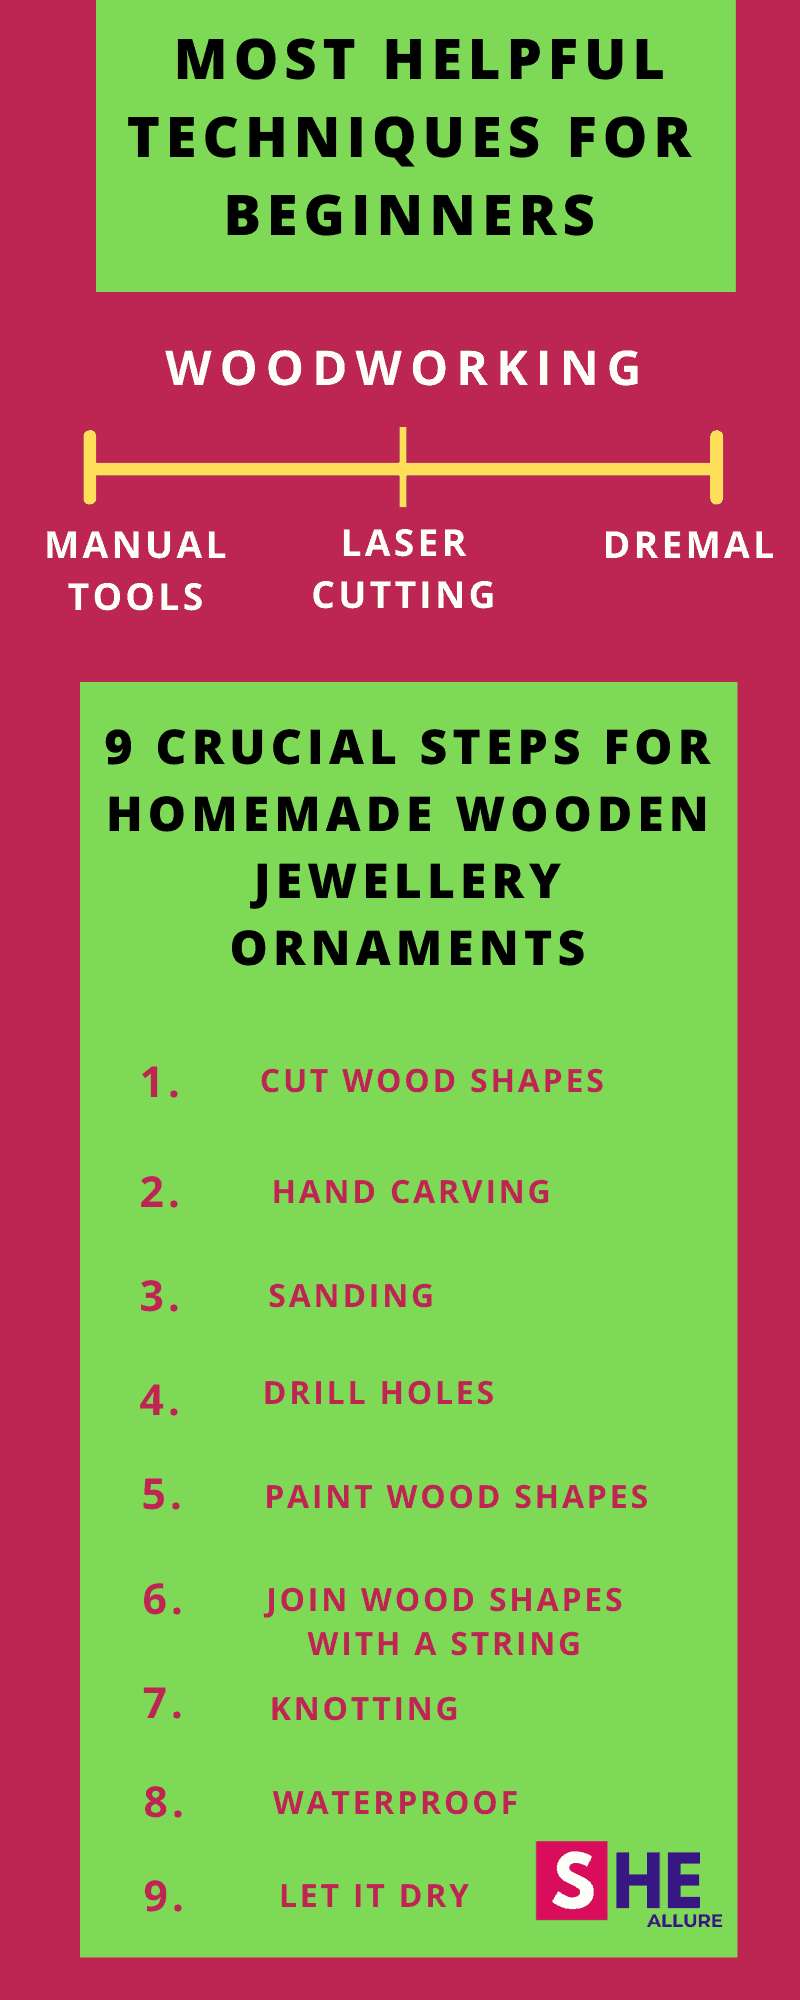
9 Crucial Steps to Make Homemade Wooden Jewellery ornaments for Christmas
If you chose to learn from scratch, the first step is to cut wood into the desired shapes which can be performed manually, laser cutting machines or a Dremal.
- Manual Wood Cutting Method
- Laser Cutting Technology
- Dremal
If you chose manual procedure you will require basic tools i.e Hacksaw, Chisel, drill and knife. To understand in detail, you can read the entire procedure on wood cutting process. Furthermore, laser cutting technology is another method that is boon to all DIY Jewellery Artists to get those fancy shapes in the least possible time but they are very costly. Therefore, I can suggest the most trending device that is less costly, time-saving and less risky as compared to laser cutters. That wonderful device is called as Dremal.
So here I have presented you three important ways to give you clarity on making homemade wooden jewellery ornaments collections. You can make it for yourself, gifting and even for commercial purposes.
Things Required to Start Making Homemade Wooden Jewellery Ornaments for Christmas
Now that we have decided about a technique and the power tools let us proceed with the most crucial step i.e Gathering supplies.
I have produced a compiled list of 19 important supplies that every DIY jewellery artist must have in their jewellery kit.
| 1. Wood Shapes (Triangle, Oval, Crescent, Rectangle) |
| 2. Choker Cord |
| 3. Nylon Cord |
| 4. Gold/Silver Chains |
| 5. Hoops for Earrings |
| 6. Pliers |
| 7. Dremal |
| 8. Drill Machine |
| 9. Ear Hooks |
| 10. Eye Pins |
| 11. Acrylic Paints |
| 12. PaintBrush |
| 13. Beads and Charms |
| 14. Hook Connectors |
| 15. Jump Rings |
| 16. Glue |
| 17. Scissors |
| 18. Elastic Thread |
| 19. Varnish |
If you want to know the meticulous step guide on the above materials I have written a detailed blog on wooden supplies for beginners to learn from.
9 Crucial Steps to Make Homemade Wooden Jewellery Ornaments for Christmas
Friends, as we have gathered all important supplies on a table let us understand 7 crucial steps to make homemade wooden jewellery for Christmas that is organic, cost-effective, simple yet stylish.
In order to help you with the subtle art of handmade wooden jewellery ornaments, Here I come up with simple steps for the same.
| Step1. Cut wood Shapes |
| Step2. Hand Carve |
| Step3. Sand Wood to Polish |
| Step4. Drill Hole for Stringing |
| Step5. Paint wood shapes |
| Step6. Join wood shapes with a String or Wire |
| Step7. Tie knots at the end |
| Step8. Waterproof your jewellery |
| Step9. Let your Jewellery Dry |
Now let us understand the detailed version of the above process that will surely help you.
Step1. Cut Wood Shapes
In order to cut wood shapes, I can suggest you the most economical method that also saves your time is to gather leftover wood instead of spending extra bugs for purchasing wood. After all the path of success lies with making things on your own. So here you need some wooden blocks. The first step is to make an outline design on the wood with the help of a pencil. The next step is cut wood into the desired shapes with the help of all in one Dremal machine. In case you don’t have it, you can use manual tools such as hacksaw, chisel, drill, and a knife.
Step2. Hand Carve
As you have the wood shapes available with you now it’s time to have fun with hand carving. This can be performed with the help of chisel as a carving tool. Another way is to use a dremal machine that produces better outcomes as wood shapes and saves time.
Step3. Sand wood to Polish
Sanding is the process of removing the uneven edges, scratches or blemishes of wood shapes. This is a crucial step to give a finished look to your wooden jewellery hence should be done very carefully. In order to learn the subtle art of hand carving manually, you will need fine sandpaper to rub wood shapes thoroughly until you see the scratches aren’t visible.
If you already have the Dremal machine, sanding becomes more easy for DIY wooden jewellery professionals because it is a multifunctional device.
Step4. Drill hole for stringing
Now it’s time to drill a small hole to the wood shapes to allow your thread/cord pass through the hole for making pendants, earrings or necklaces.
Step5. Paint Wood Shapes
Now the next step is painting wood shapes and make colorful wooden jewellery collections and let the paint dry. If you want to make it simple and stylish you can skip this step.
Step6. Join wood shapes with a string or wire
Now it’s time to connect the wood shapes with a string for making a pendant or necklace whatever makes you happy.
Step7. Tie knots in the end
Once we are done with stringing proceed with the most important step i.e Knotting at the end as per the measurement. Not to forget hiding knots inside the bead to avoid their visibility.
Step8. Waterproof your wooden jewellery
Waterproofing is essential process for every DIY wooden jewellery artist so as to seal your paint art. Take a thin paintbrush and gently apply in small amounts to your jewellery.
Step9. Let your jewellery dry
Let your jewellery dry for at least 24 hours. Waterproofing with varnish will give a glossy look to your wooden jewellery ornaments. All done.
Upcycle and Enhance Homemade Wooden Jewellery Ornaments for Christmas: A Wave of Change
Upcycling is a perfect way to make homemade wooden jewellery ornaments that are time-saving and environment-friendly. Now a question pops up my mind, how do we enhance the look of wooden jewellery? Well, I think we can make the best use of materials that can be found on a daily basis. When we look around and observe those tiny things which we thought serve a single purpose can be used to devise incredibly irresistible ornaments that can change your look.
Let me share a beautiful example of a safety pin. Do you know we can make incredible beaded jewellery like bracelets and choker necklace with the help of safety pin? This is really surprising to know that we have treasure of supplies at home. You don’t have to trip out and spend dollars for the same. Make your own lovely designs and flaunt.
Alternatively, if you are looking for cool embellishers that spice up the look of your accessories, I can give some very helpful ideas such as pearls, glass beads, seed beads, resin beads to give a unique look. By the way, I have thoroughly explained the significance of reinventing jewellery from the daily supplies in my previous blog.
5 Must Read FAQs for all Newbie DIY Jewellery Designers

| Q1. Out of these three techniques, which one do you think is the best method to make homemade wooden jewellery ornaments? |
| Ans. Well, for any jewellery artist to grow as successful entrepreneurs, I would say make your own designs. Try woodworking method say, a simple handmade wooden pendant. However, if you are not comfortable then you can buy ready wood shapes from the local market or from the Amazon store. |
| Q2. Which tool do you think is feasible for designers to start with homemade wooden jewellery ornaments? |
| Ans. In terms of cost-saving, time and performance I would suggest Dremal is a perfect professional device that would yield the best outcomes. Alternatively, laser cutting machines are also the best for making top-notch designs that produce fast results and efficient designs. But they are very costly. Therefore, Dremal is recommended. |
| Q3. Where can we get jewellery making supplies kit? |
| Ans. They can be easily purchased from the local market or through the Amazon store. |
| Q4. What is the alternative method for making homemade wooden jewellery ornaments besides wood? |
| Ans. Paper Jewellery making is the most popular, cost-effective and eco-friendly method you can try. |
| Q5. Where can we purchase chains for making wooden pendants at home? |
| Ans. Gold or silver chains can be easily purchased from the local market or from the Amazon store. Additionally, I can give you a better idea that doesn’t require spending money and that is you can also make use of your old jewellery and reuse chain for making homemade wooden pendants or even necklaces. If you want to know more about upcycling and reinventing jewellery, you can read my blog published recently. |
Friends, I have covered the latest trends along with a detailed guide for beginners that I guess would help you with some ideas before you start making homemade wooden jewellery ornaments for Christmas also for all occasions. In addition to this, I have also tried to elaborate on three techniques along with a graphic to understand better. I hope you like this blog. Feel free to share your ideas and feedback in the comment section. I would love to have a look. Let’s grow all together and build a wonderful tribe of entrepreneurs. What say, ladies?
