Homemade wooden jewellery ornaments for gifting is one the coolest idea to express your love than hustling last-minute to make a purchase. Let’s awaken our inner craftsperson and spread love.
In this tutorial, we shall learn economical ways of making stunning handmade jewellery as a gift for someone special. Well, I’m sure boys who are planning a unique gift for their lady love will enjoy it.
This guide consists of five economical ideas. tips and tricks to save money and a short tutorial on making a lovely jewellery piece for your loved ones. Let’s begin.

5 Unique Homemade Wooden Jewellery Ornaments for Gifting
Homemade wooden jewellery ornaments for gifting your loved ones is the best idea ever. I mean, why waste money on expensive jewellery if the same can be crafted at home and that too adds up to originality.
Before Valentine’s day arrives, how about making a trendy piece that is made of wood that looks artistic and adorable. Let me share exclusive economical ideas for making homemade jewellery ornaments you can make at home.
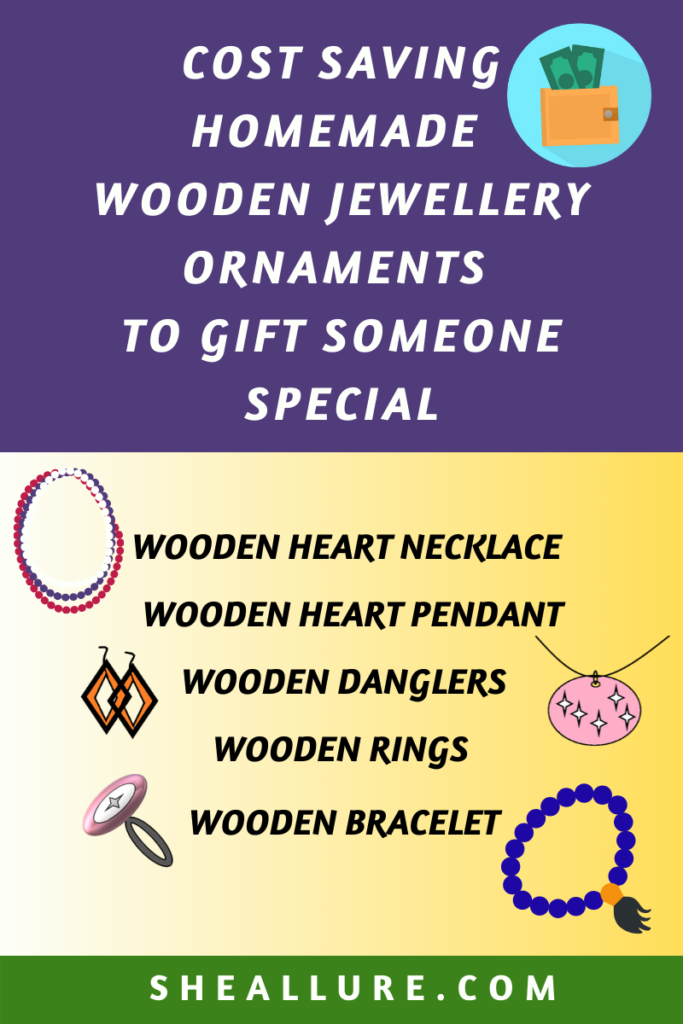
| 1. Wooden Heart Necklace |
| 2. Wooden Heart Engraved Pendant |
| 3. Wooden Danglers |
| 4. Wooden Rings |
| 5. Wooden Bracelets |
Now, let us understand the cool homemade wooden jewellery ornaments for gifting-
1. Wooden Heart Necklace
Wooden heart necklace can be made in two ways – one method is to use reuse wooden blocks and follow the wood cutting process to get those desired shapes.
The next step is sanding wood by rubbing with fine sandpaper to remove the uneven edges. Once you have finished wood shapes you can drill a hole to allow stringing beads and finally make a simple yet stylish wooden heart necklace.
By the way, I have explained the detailed procedure of a wooden heart necklace for beginners.
2. Wooden Heart Engraved Pendant
Wood engraving has gained a lot of popularity giving opportunity for DIY Jewellery artists to learn and make impeccable designs on wood. This process is quite interesting as carving a monogram gives a personal touch to your pendant and a perfect gifting idea for your loved ones. Want to try?
Let me share two techniques which will help to understand wood engraving and create artistic designs on wood. Wood engraving can be done in two ways- the first technique which is cost saving is manual tools I.e. using a chisel but this is slightly time-consuming. Engraving a monogram on wood should begin with sketching on wood with a pencil and start scraping it with a chisel. You will love it.
The other technique is using a DREMAL technology that has multifunctional features and mostly preferred by DIY Jewellery designers. It saves time and yields fast results compared to manual procedures. You can choose any one of them whatever makes you happy.
3. Dazzling Danglers
Wooden danglers are the trending jewellery ornaments every girl loves to wear. You can make as many designs as possible either by manual wood cutting process or through a carpenter in case you feel uncomfortable with manual procedures.
To make simple eco-friendly wooden danglers, you will need wood shapes, drill, and ear hooks. When you have the finished wood shapes, the next step drills small holes to the wood and connect with ear hooks. If you want to make it more colorful poppy designs you can use acrylic paints and make sure you waterproof to seal your art.
4. Wooden Rings
For making homemade wooden rings, I would recommend going for readymade wood shapes available at hobby craft stores or online. You will be free from the hassle of the woodworking process because it is quite lengthy and tiresome for beginners.
You will require essential materials such as silver ring base, readymade wood shapes, super glue, acrylic paints, and varnish. To learn the detailed step guide on how to make wooden rings at home without woodworking you can read my recently published blog.
5. Wooden Bracelet
I began making jewellery with the handmade wooden beaded bracelet and I would suggest to all aspiring entrepreneurs start with a nice punky wooden bracelet.
Let me help you with a small tutorial to make a simple colorful wooden bracelet at home. You need 6 basic supplies such as small wooden beads (unfinished or finished), elastic thread, a scissor, paintbrush (thin and thick size) fabric paint, and varnish.
The first step is measuring elastic thread around your wrist, make sure to leave extra inch so that your jewellery best fits your hand. the next step is to paint wood beads with fabric colors as per your choice and let it dry.
Now, we shall proceed stringing beads one by one till the end. We have reached the most crucial step i.e knotting at least thrice so that it won’t unravel. Snip off the extra threads and finally hide the knotting inside the bead with the help of a needle or a skewer. Your wooden bracelet is ready to flaunt.
2 Effective Time-Saving Techniques for Gifting Homemade Wooden Jewellery Ornaments
As we have learned the woodcutting process in my previous blog tutorial, in case you have ample time to handcraft jewellery then you can opt for this method and follow the hand carving process else go for readymade wood shapes.
Friends, an ideal method that saves money and time is using reused wooden blocks. Therefore, I would suggest you, make the best use of leftover wood blocks and proceed with wood carving which I am going to explain to you in this tutorial.
There are two effective techniques to make artsy homemade wooden jewellery ornaments for gifting.
1. Hand Carving Wood Shapes
Hand carving process is mostly preferred by all DIY wooden jewellery designers as they get the opportunity to learn and make impactful designs on wood shapes.
To all talented designers, it’s time to awaken your inner craftsperson and make prolific handmade wooden jewellery ornaments with the help of a wood carving method. Right?
It can be accomplished in 2 ways – One method is by using Manual tools i.e chisel and another very popular device – DREMAL. If you want to learn hand carving can go through my previous blog.
2. Readymade Wood Shapes
If you’re running short of time and planning to gift handmade wooden jewellery ornaments then my suggestion to you is buying ready wood shapes.
By the way, if you are looking for readymade wood shapes, they are easily available at your nearest hobby craft stores or can be ordered online. You may choose finished or unfinished wood. Hence, depending upon the time you can choose any one technique for the purpose of gifting
Supplies to Make Homemade Wooden Jewellery Ornaments For Gifting
Gathering supplies is the first crucial step to be kept in mind. Hence, I am going to share an exhaustive list for you but before that, it is important to choose whether to opt for the process that is feasible in the long-run.
By the way, if you are seeking manual tools to carve wood, I have written a blog containing a detailed explanation which will surely help you understand the process but let me tell you they are slightly time-consuming for designers that is why Dremal Technology is popular because of its multifunctionality. You can choose any one technique as per your budget and convenience.
Moving on, let us understand the supplies required to make handmade wooden jewellery ornaments for gifting using a Technology:
| 1. Unfinished Wood Shapes |
| 2. Dremal |
| 3. Drill Machine |
| 4. Pencil |
| 5. Acrylic Paint |
| 6. Jump Rings |
| 7. Hook Connectors |
| 8. Nylon Thread |
| 9. Gold/Silver Chains |
| 10. Scissors |
| 11. Beads and Charms |
If you are a first-time reader can go through my blog where I explained in detail about wooden jewellery making supplies.
7 Quick Steps to Craft Homemade Wooden Jewellery Ornaments for Gifting
Crafting handmade ornaments especially when it comes gifting is more like showing love than just learning. Isn’t it? Let us put your heart and soul in making adorable jewellery for your wife, Mom, Sister, Daughter or your Girlfriend.
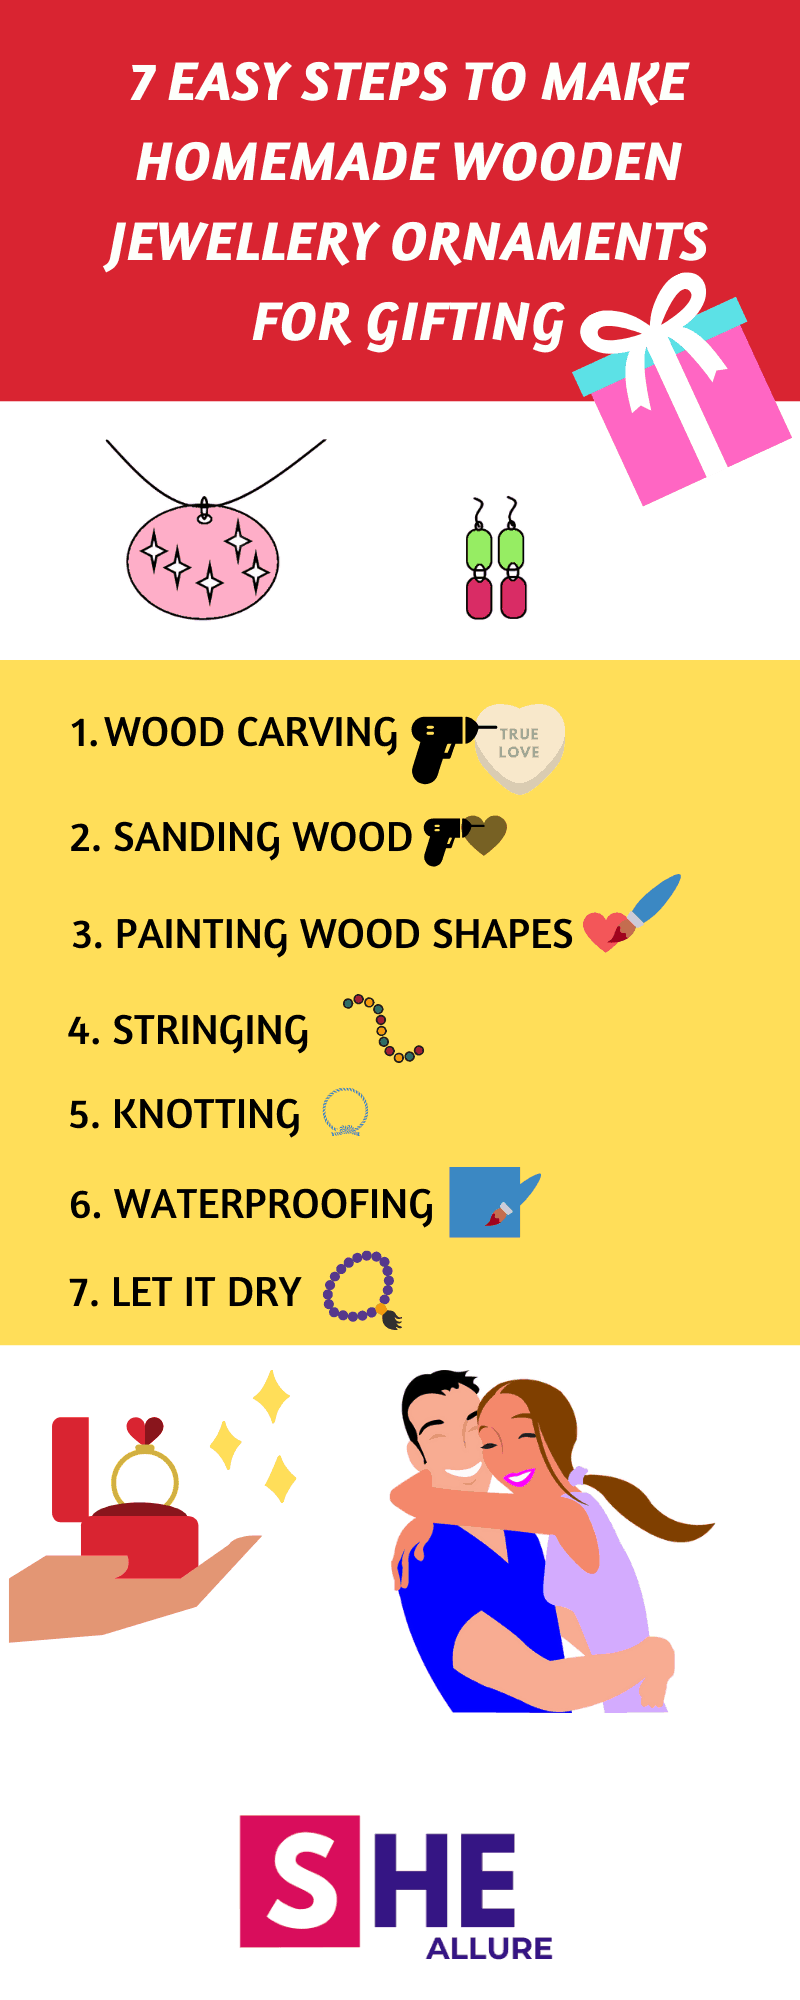
There are 7 easy steps I have created for beginners which will help to start making handmade wooden jewellery ornaments that save time and best for gifting purpose.
I have elaborated a detailed guide on the entire process for beginners, just in case you’re are a first time reader can learn the entire step by step process to make wooden jewellery.
| 1. Wood Carving Using Dremal Technology |
| 2. Sanding Wood |
| 3. Painting Wood Shapes |
| 4. Stringing Beads |
| 5. Knotting at least thrice |
| 6. Waterproofing |
| 7. Let your jewellery dry |
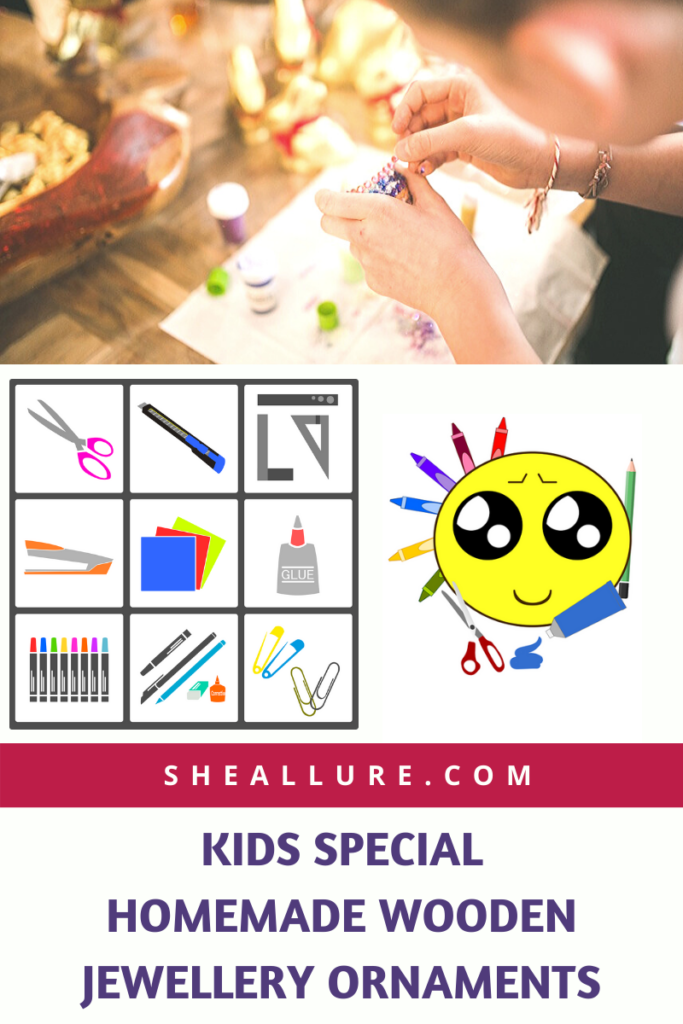
Gift Adorable Homemade Jewellery for your Kids
How about crafting funky style handmade wooden jewellery for kids? Involve your kids and have fun with making glitzy colorful wooden jewellery at home.
The process is the same we have learned, just the designing phase needs to emphasize more.
Let me share a mini tutorial to make gleaming homemade wooden jewellery ornaments for kids.
The first step is gathering essential supplies, let us make a colorful wood beaded bracelet for kids such as wooden beads, elastic thread, skewer/needle, paintbrush, embellishers (sparkles, sprinkles), scissor and varnish.
Measure the length of a thread around your wrist and keep it a little extra so that it won’t be too loose or tight to the wearer. Take a skewer and put the beads for coloring it. Let the paint dry for some time. Start stringing with beads and in the end, tie at least three knots so that it won’t unravel. The next step is to waterproof your bracelet with a varnish. Take a thin paintbrush and apply varnish gently in small amounts. Let the varnish dry for at least 24 hours. Your funky wooden bracelet is ready. Make your daughter, sister, friend happy with the lovely colorful handmade wooden bracelet. So simple!
Don’t Trash a Treasure, Use it for Making Gorgeous Ornaments
Have you ever wondered about the tiny things that we use on a daily basis, can be used for making jewellery? Well, as a DIY Jewellery Artist, I sincerely believe we should strive to use reused stuff easily available at home than spending extra dollars on purchasing readymade shapes. Therefore, I am sharing those treasures for jewellery making that we all must be aware such as paper pins, safety pins, button, fabric, wool, thread and what not.
Moreover, I have discovered the latest trends like remodeling old jewellery are much talked about. Based on the trends, let us learn some new ways that not only cut down the costs of purchasing supplies but also give an aesthetic look to your jewellery.
- Threadwork
- Paper Pins
- Broken Glass
I have recently published a detailed blog stating how these supplies can be used for crafting handmade wooden jewellery ornaments.
5 Important FAQs Designed for Aspiring Jewellery Designers
| Q1. Which technique is preferable for wood carving? |
| Ans. I would recommend Dremel machine for professional DIY jewellery designers because of it’s multifunctional features – wood cutting, carving, polishing, and cleaning. If you don’t have a budget, no worries, you can try implementing manual tools for wood engraving using Chisel tool. |
| Q2. How can we perform woodcutting from leftover wood blocks to make homemade wooden jewellery ornaments for Gifting? |
| Ans. Woodcutting process can be accomplished using manual tools which I have explained in my previous blog.
Second method is Dremal technology for wood cutting. Cut wood shapes, carve and sand wood. |
| Q3. What are the other homemade wooden jewellery ornaments for gifting? |
| Ans. You can make stunning wooden heart Anklets, wooden rings and even head ornaments for gifting purposes. If you want to learn how to make wooden heart anklets at home can read my detailed tutorial.
By the way, I have created a mini tutorial on head ornaments with my previous blog. You can take some ideas and create your own designs. |
| Q4. For making a wooden bracelet how many times should we tie knots? |
| Ans. You should ideally knot thrice to make a perfect fit bracelet so that it won’t ravel. It is very easy and recommended for beginners to start with a bracelet. You will love it. |
| Q5. What is the process of sanding wood? |
| Ans. Sanding wood is the process of removing blemishes from the wood to give a finished look. There are two ways to perform this procedure; one method is by rubbing with fine sandpaper until you see the rough surfaces aren’t visible. Another method is by using a Dremal technology which produces fast results. You can choose any one of them as per your budget and convenience.
To learn detailed procedure on sanding wood, can read my recently published blog. |
Friends, I have covered some skimping ideas for gifting your loved ones’ homemade wooden jewellery ornaments along with helpful techniques. You can choose any feasible idea and begin with spectacular designer creations even for commercial use.
The greatest heartwarming gift is to start from scratch to show your love in true sense. Spread love and happiness and make your loved ones feel proud. Happy Crafting an have a blooming beautiful Valentine’s Day!
